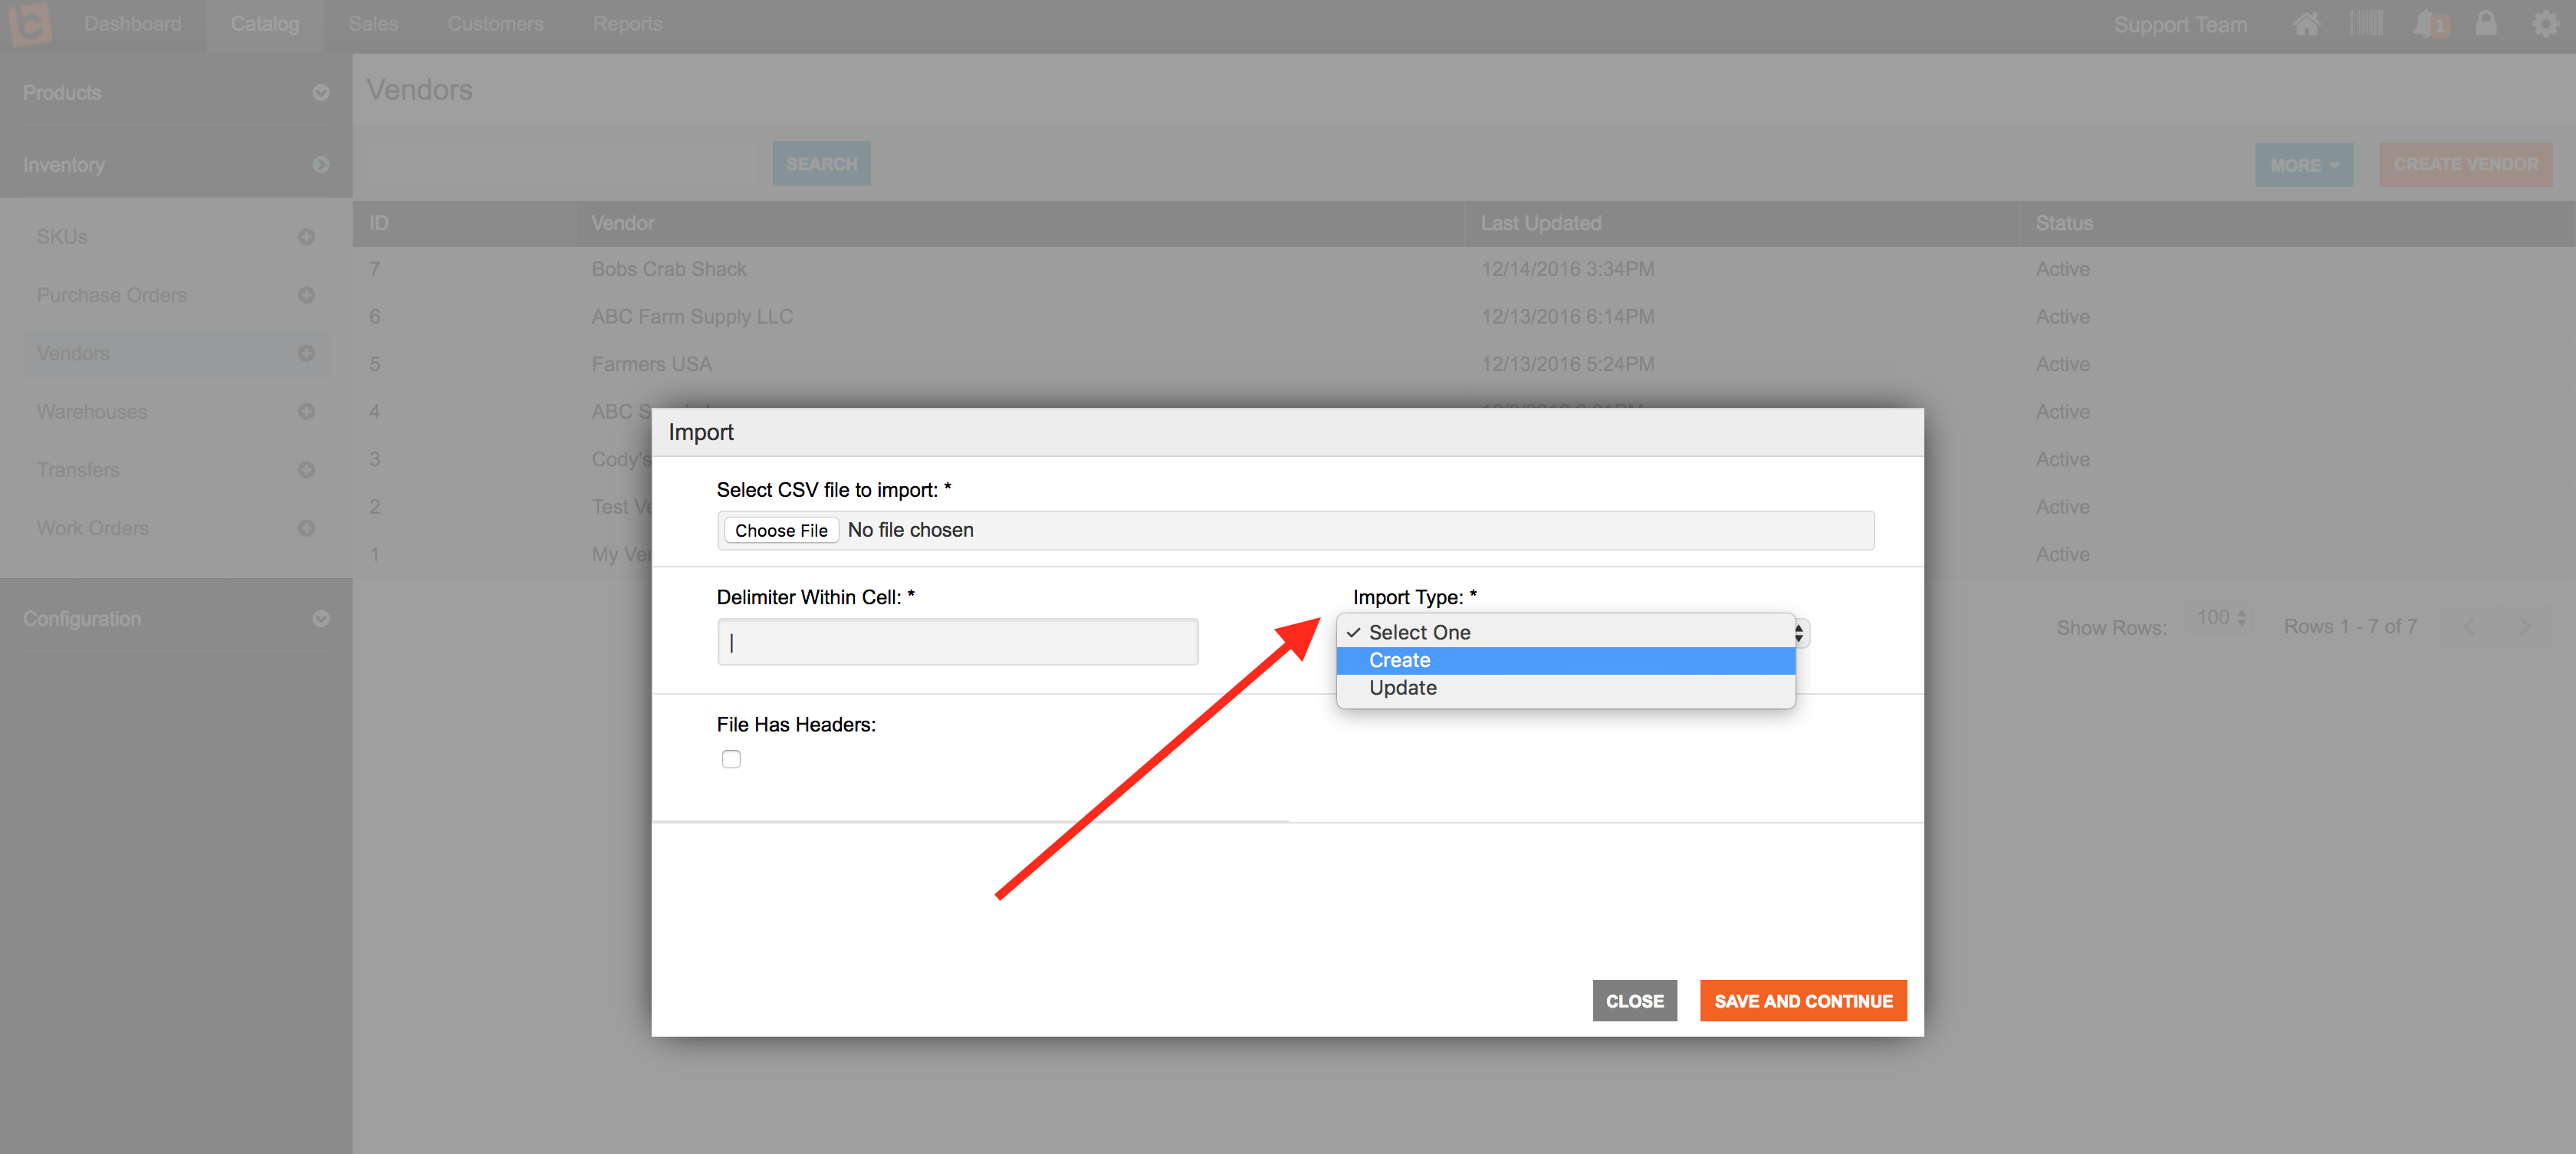
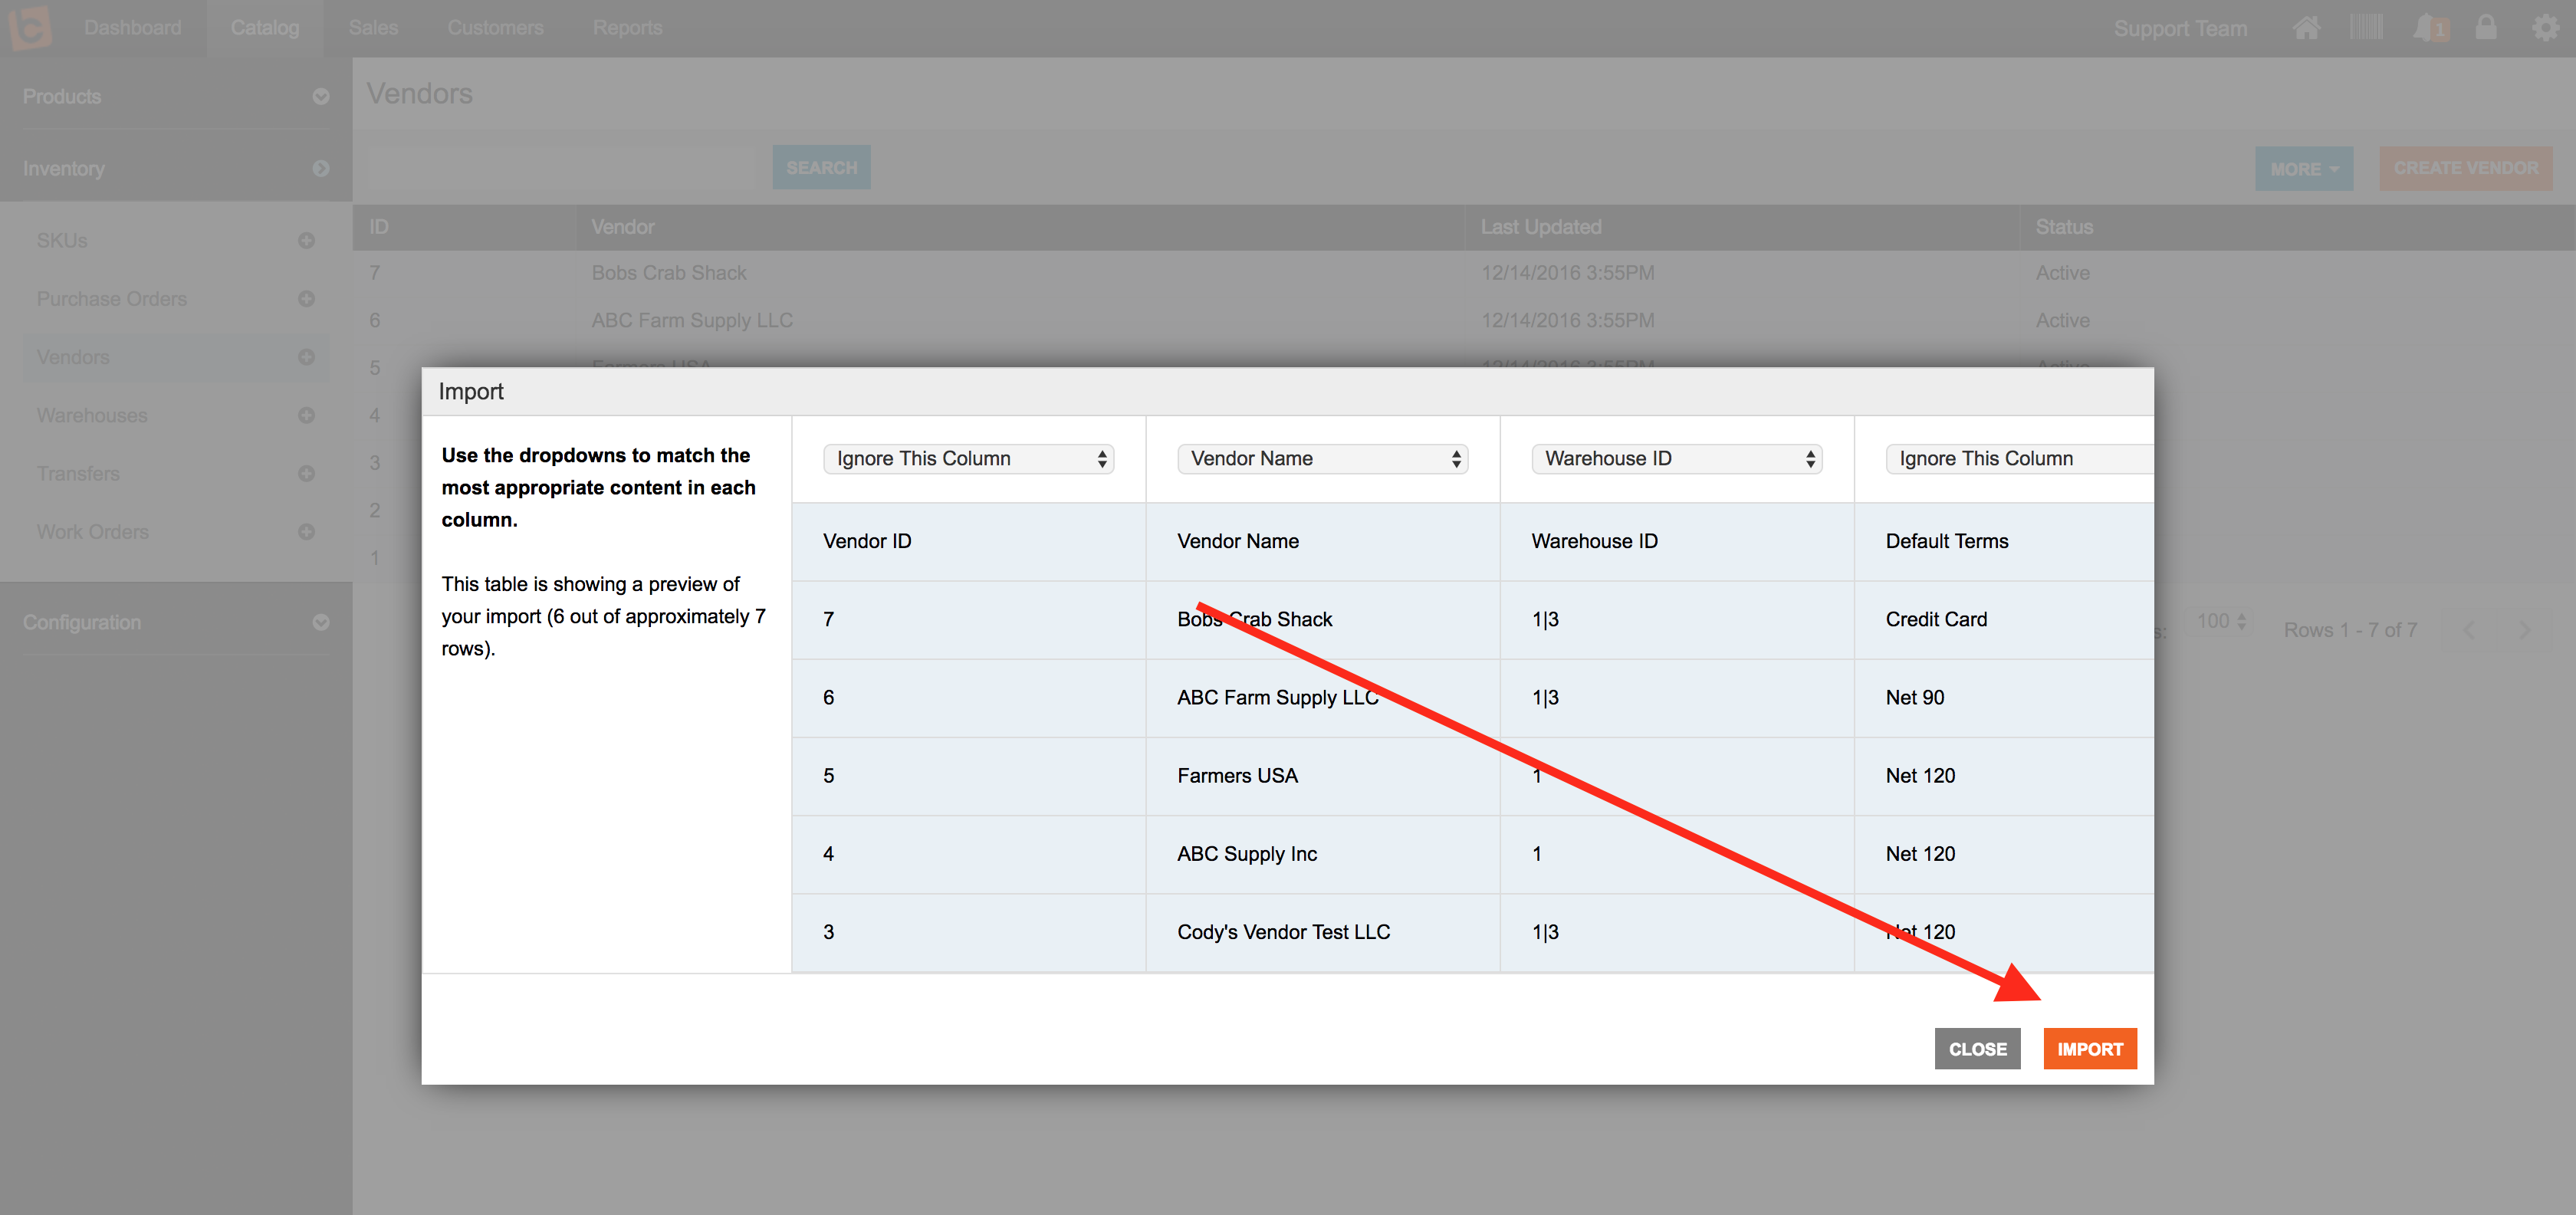
You can import your Vendors using the Vendor Import and Export capability found in the More menu of the Vendors area.
Step 1:
Navigate to Catalog > Inventory > Vendors
Step 2:
Click on the "More" menu button (blue) and choose either Import or Export

Step 3:
If you want to create your Vendors from scratch, then choose Import and then using the Import Type menu choose "Create"

Step 4:
The following fields are required and optional
| Field Name | Required On | Support Notes |
| Vendor Name | Create | This field is used most commonly on an Import when creating your Vendors for the first time. It does not need to be passed when performing an Import Update job. |
| Vendor ID | Update | This is a system generated ID number that is created by the Lead Commerce software automatically. |
| Contact Name | This is the name of the contact that will end up on your Purchase Orders. | |
| Address 1 | Update | The Address 1 field is what will be used to determine if you are updating a Vendor Contact record already in the database or if this is a new Contact that needs to be added. |
| Address 2 | ||
| City | ||
| State | ||
| Zip Code (Zip) | ||
| Region | ||
| Email Address | ||
| Phone | ||
| Fax | ||
| Auto Send PO | This option allows you to set the Auto Send PO to your Vendors when a PO is placed in the system. If you want to turn the Auto Send PO on, then use the number one (1) to pass in for "Yes" If you want to turn the Auto Send PO off then use zero (0) in your CSV import file. | |
| Default Shipping Notes | ||
| Default Terms | Create | |
| Warehouse ID | Create | If mapping to more than one warehouse then use the pipe delimiter "|" As an example 1|3 |
Step 5:
Map your columns in your CSV file to the fields in Lead Commerce then process the Import request.


 Made with ❤ in the USA.
