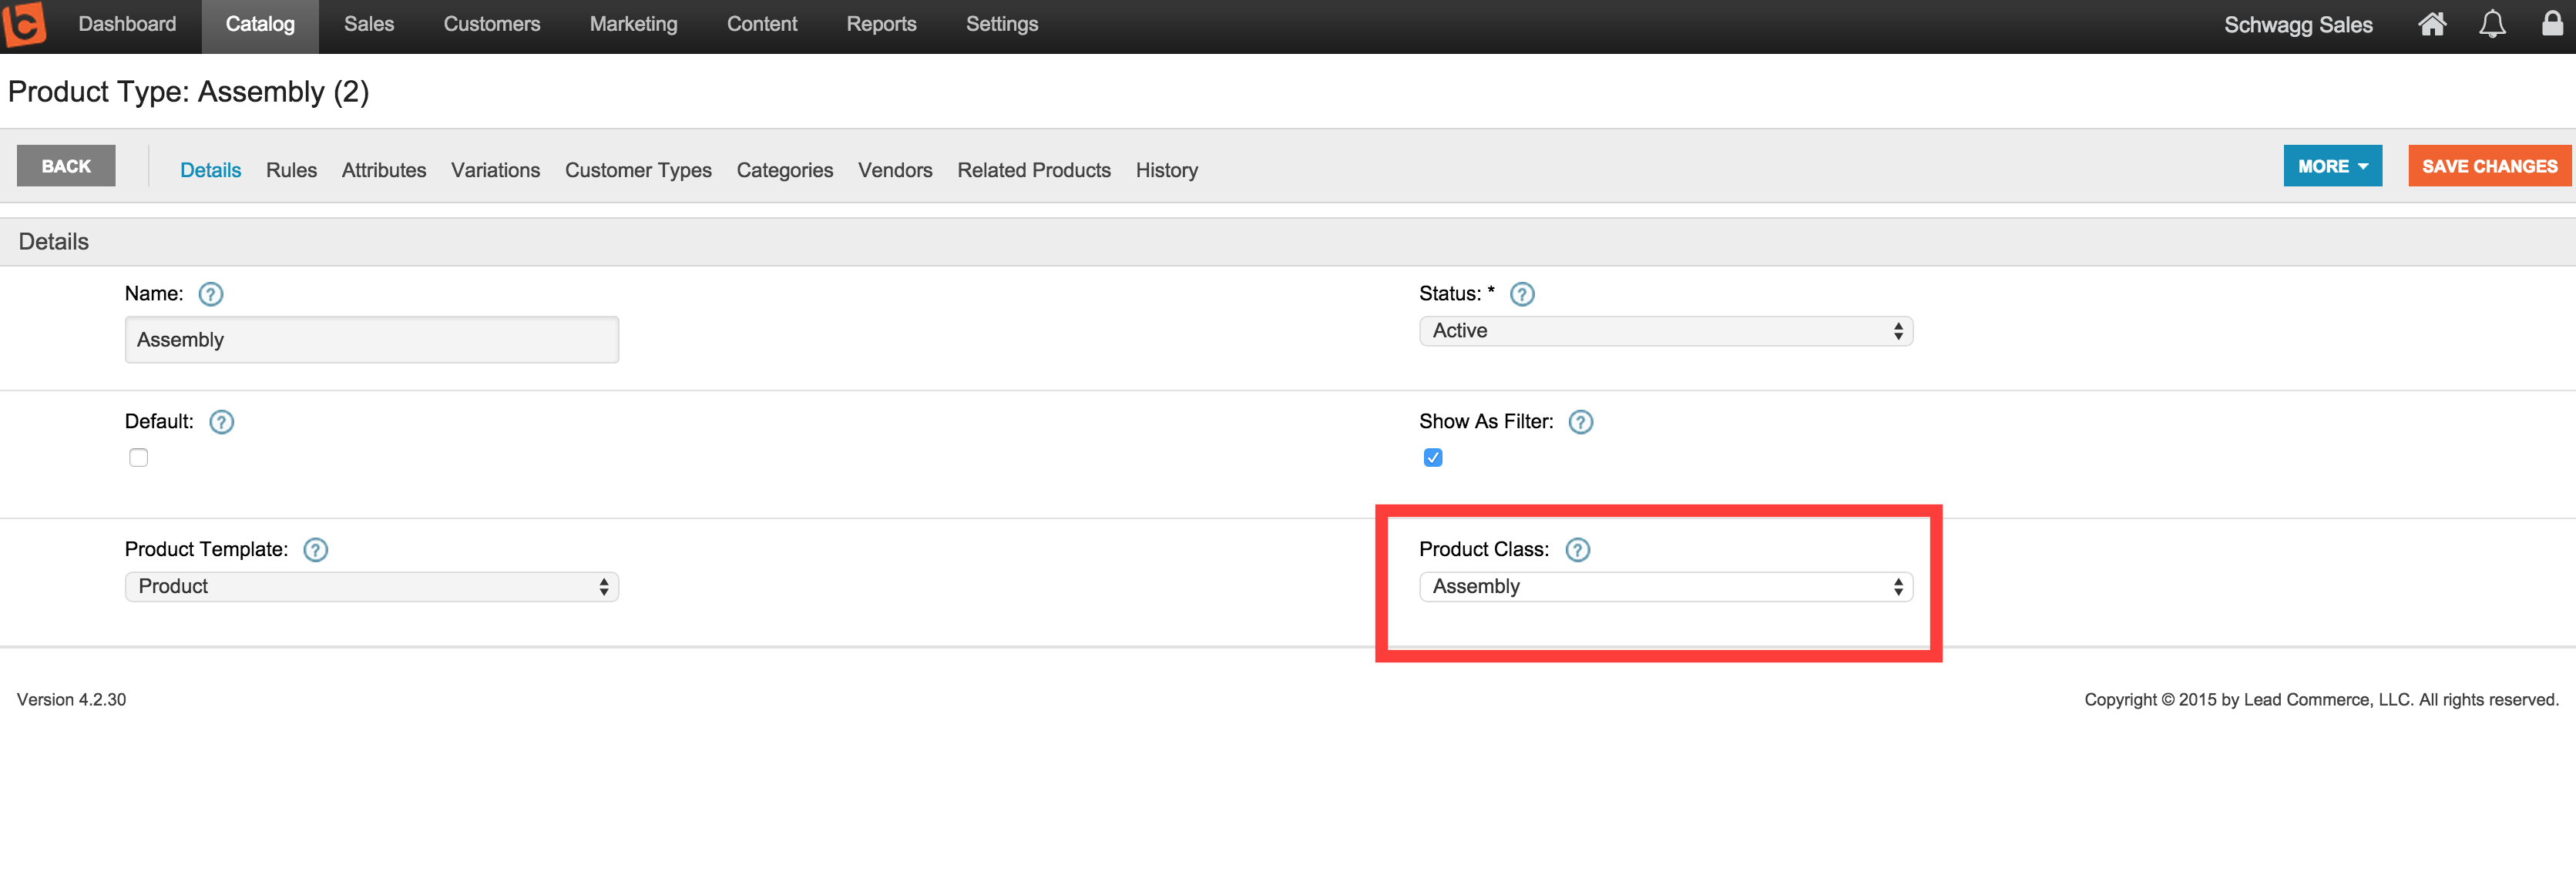
This support article discusses how to properly setup and use Assembly Product Types in Lead Commerce. This is the Product Type that is required for Work Orders.
Step 1:
In order to use the Bill of Materials and be able to add SKUs to a particular Assembly, you will need to first establish a Product Type with the Product Classification set to Assembly. You can either use the default Assembly Product Type or create your own. However, the Product Class must be set to Assembly.
First go to Catalog > Configuration > Product Types, then click on Create Product Type.

Step 2:
Once you have created a Product Type with the Product Class selected as Assembly, you can then use this Product Type when creating a new Assembly Product. This is the product you will be assembling, the finished product. For example, it could be a bike or a dozen cookies.
Go to Catalog > Products > Products, then click on Create Product.

Step 3:
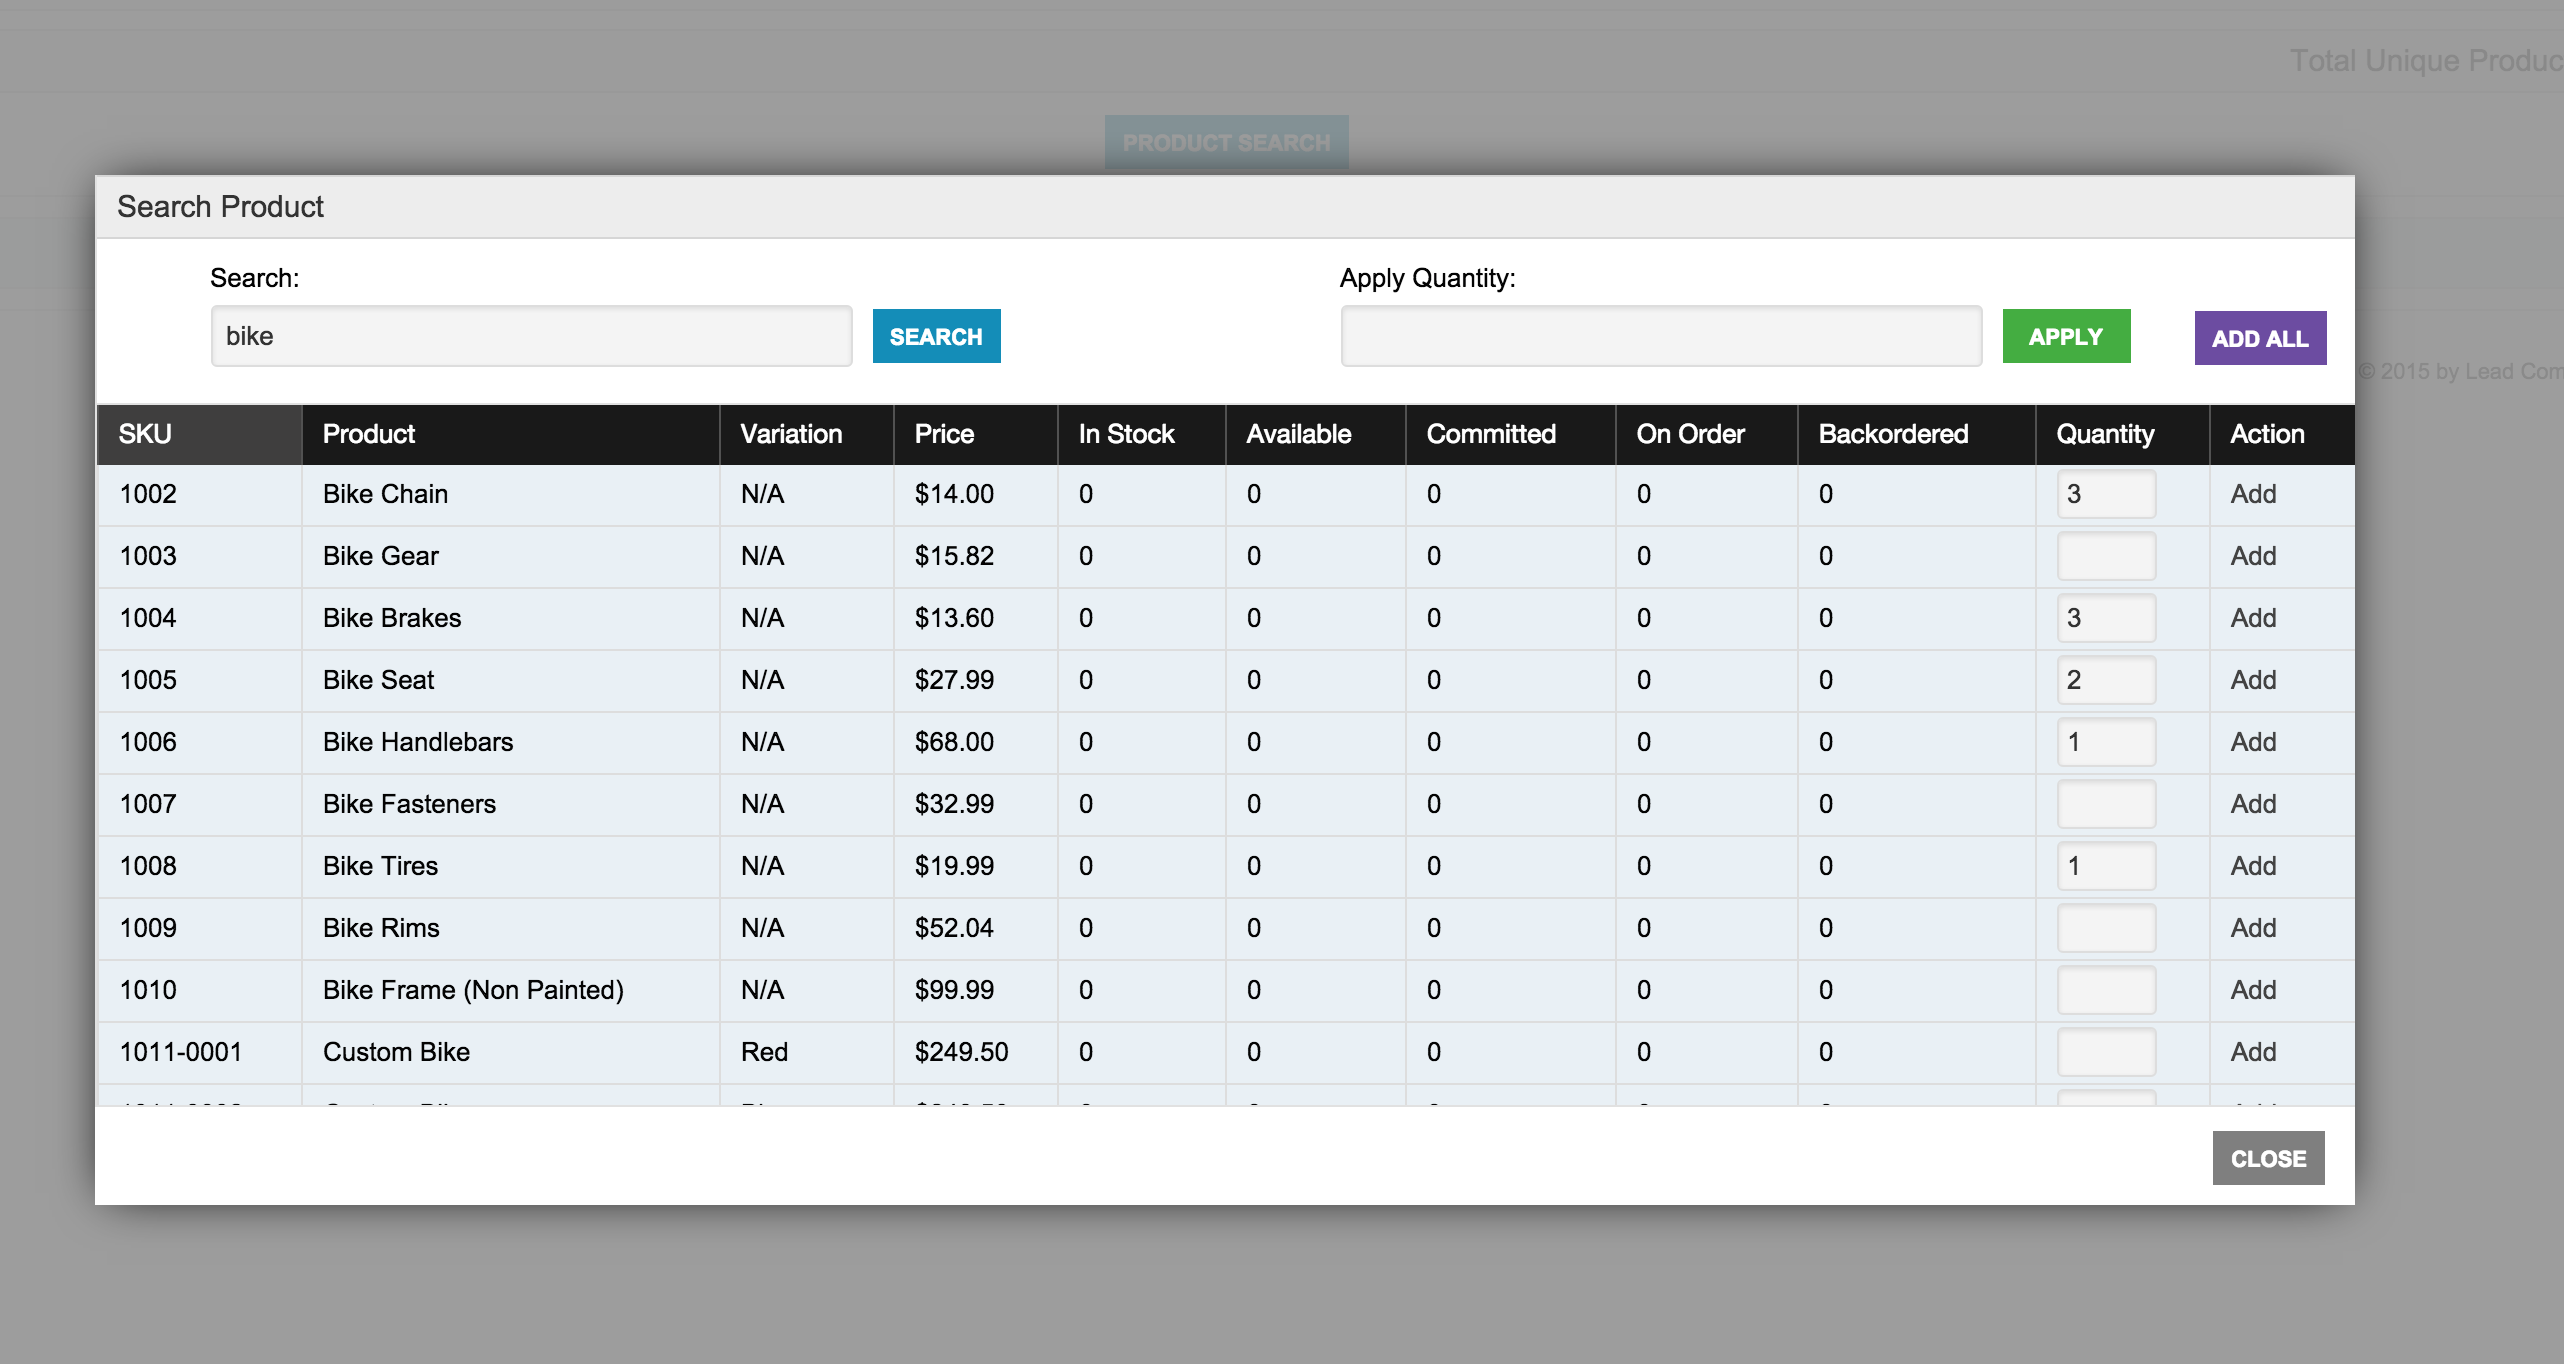
Once the Product has been created and saved, you will then be able to add other products to this assembly under the Bill of Materials (BOM) section of the Product drill down area.
Please Note: These products that will be added to this assembly under the Bill of Materials section, will only be added in the Product BOM sections, not the SKU BOM section.

Select the SKUs that are part of the BOM and also indicate the quantities of each.

Please Note: If you have not previously created the products that will be used to assemble the above Assembly product, you will need to do that first. These products will NOT use the Assembly Product Type. They will use the Simple Product Class and this Product Type can be named anything that makes sense to you, such as, Component or Raw Materials.
Once you have added the Bill of Materials (BOM) and saved the SKUs that are associated with this Assembly, you can use Work Orders to build these out and keep track of your component or raw material inventory. See How to Process a Work Order for more information.
Example Product:
By default, Lead Commerce includes a sample assembly type product, it is called Custom Bike. Go to Catalog > Products > Products and in the Product table list click on Custom Bike. You will notice that the Custom Bike product uses the Assembly Product Type. And, under the Bill of Materials section, each product that is required to assemble one Custom Bike is included along with the quantity required to assemble one bike. For example, one bike requires two tires, and only one bike seat. Also, notice in the Variations section, the three color variations (Red, Blue, and Green) correspond with the three SKUs in the SKUs section.

 Made with ❤ in the USA.
