This support article discusses how to add barcodes to your template files in Lead Commerce so they can be used in conjunction with our barcode scanner feature.
Step 1:
Deciding which templates you want to adjust will need to be considered by your individual company. Currently, you can adjust the following templates and have barcodes display when printing those documents:
Sales Orders
Purchase Orders
Packing Slips
Work Orders
Step 2:
Decide which templates you want to change and then navigate to the Settings area of Lead Commerce.

Step 3:
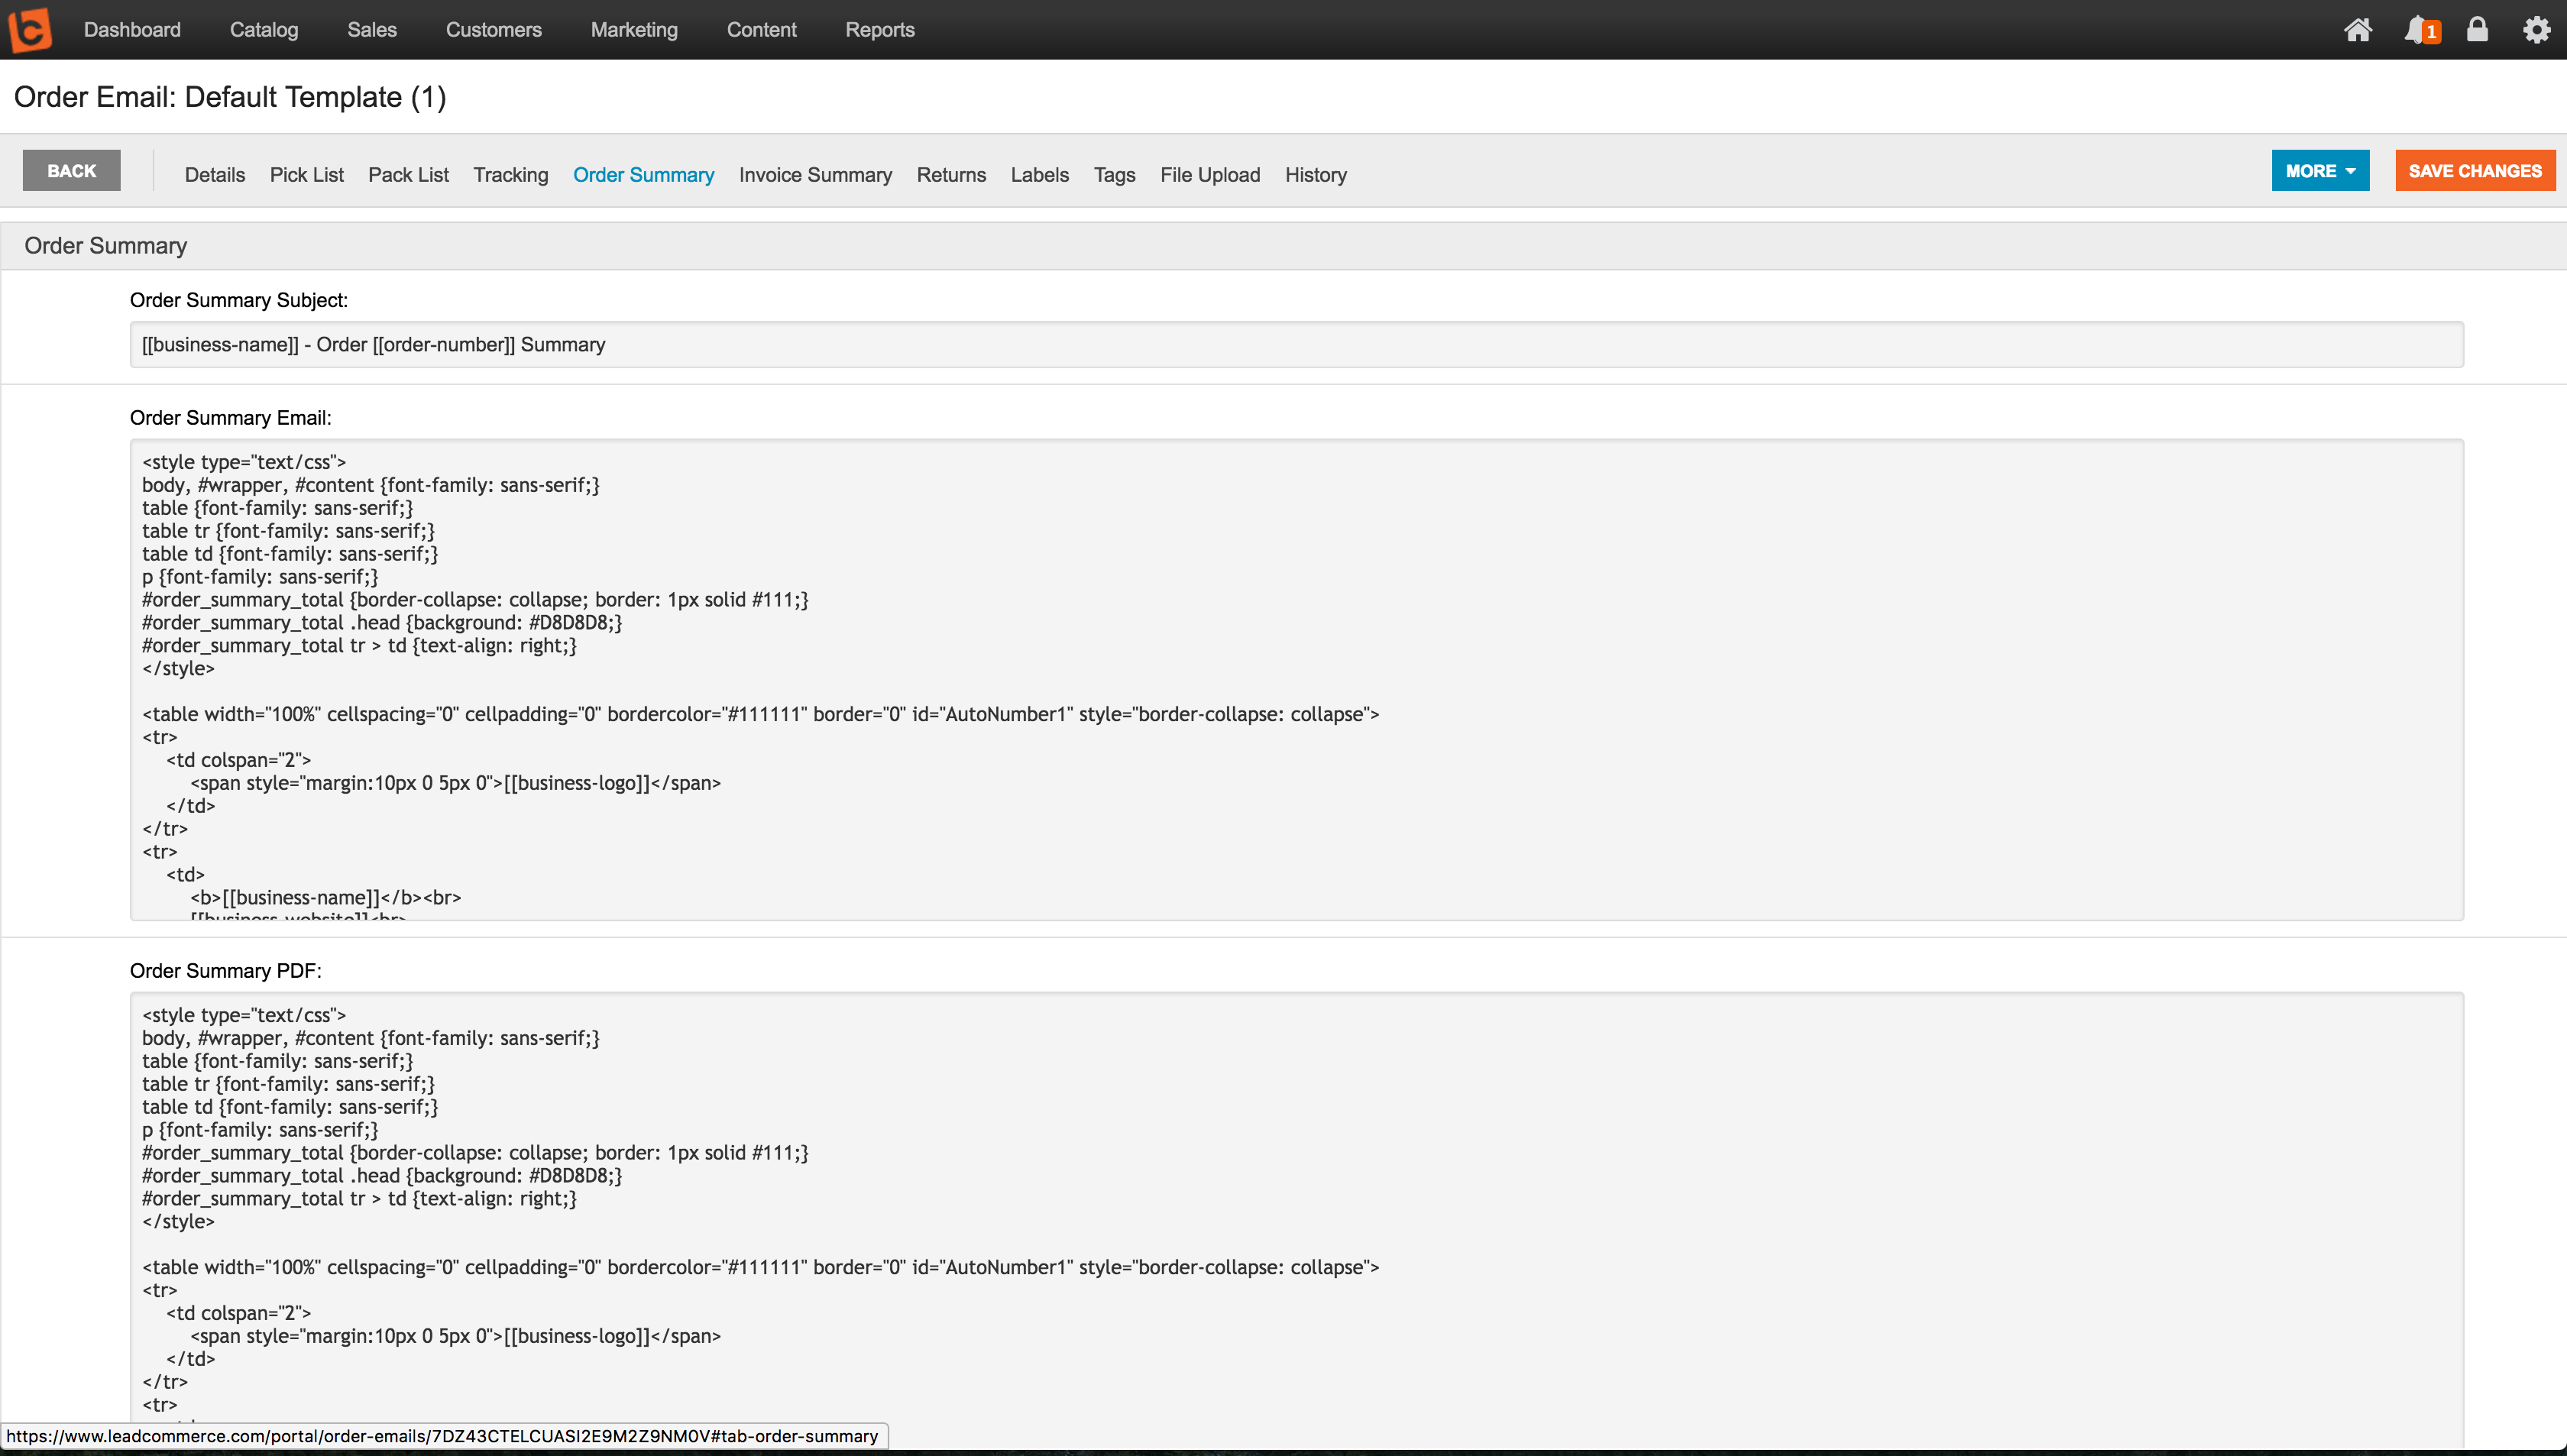
Choose which template you want to adjust. If you want to adjust your Sales Order, then click into the Order Emails template and then click on the Order Summary section.

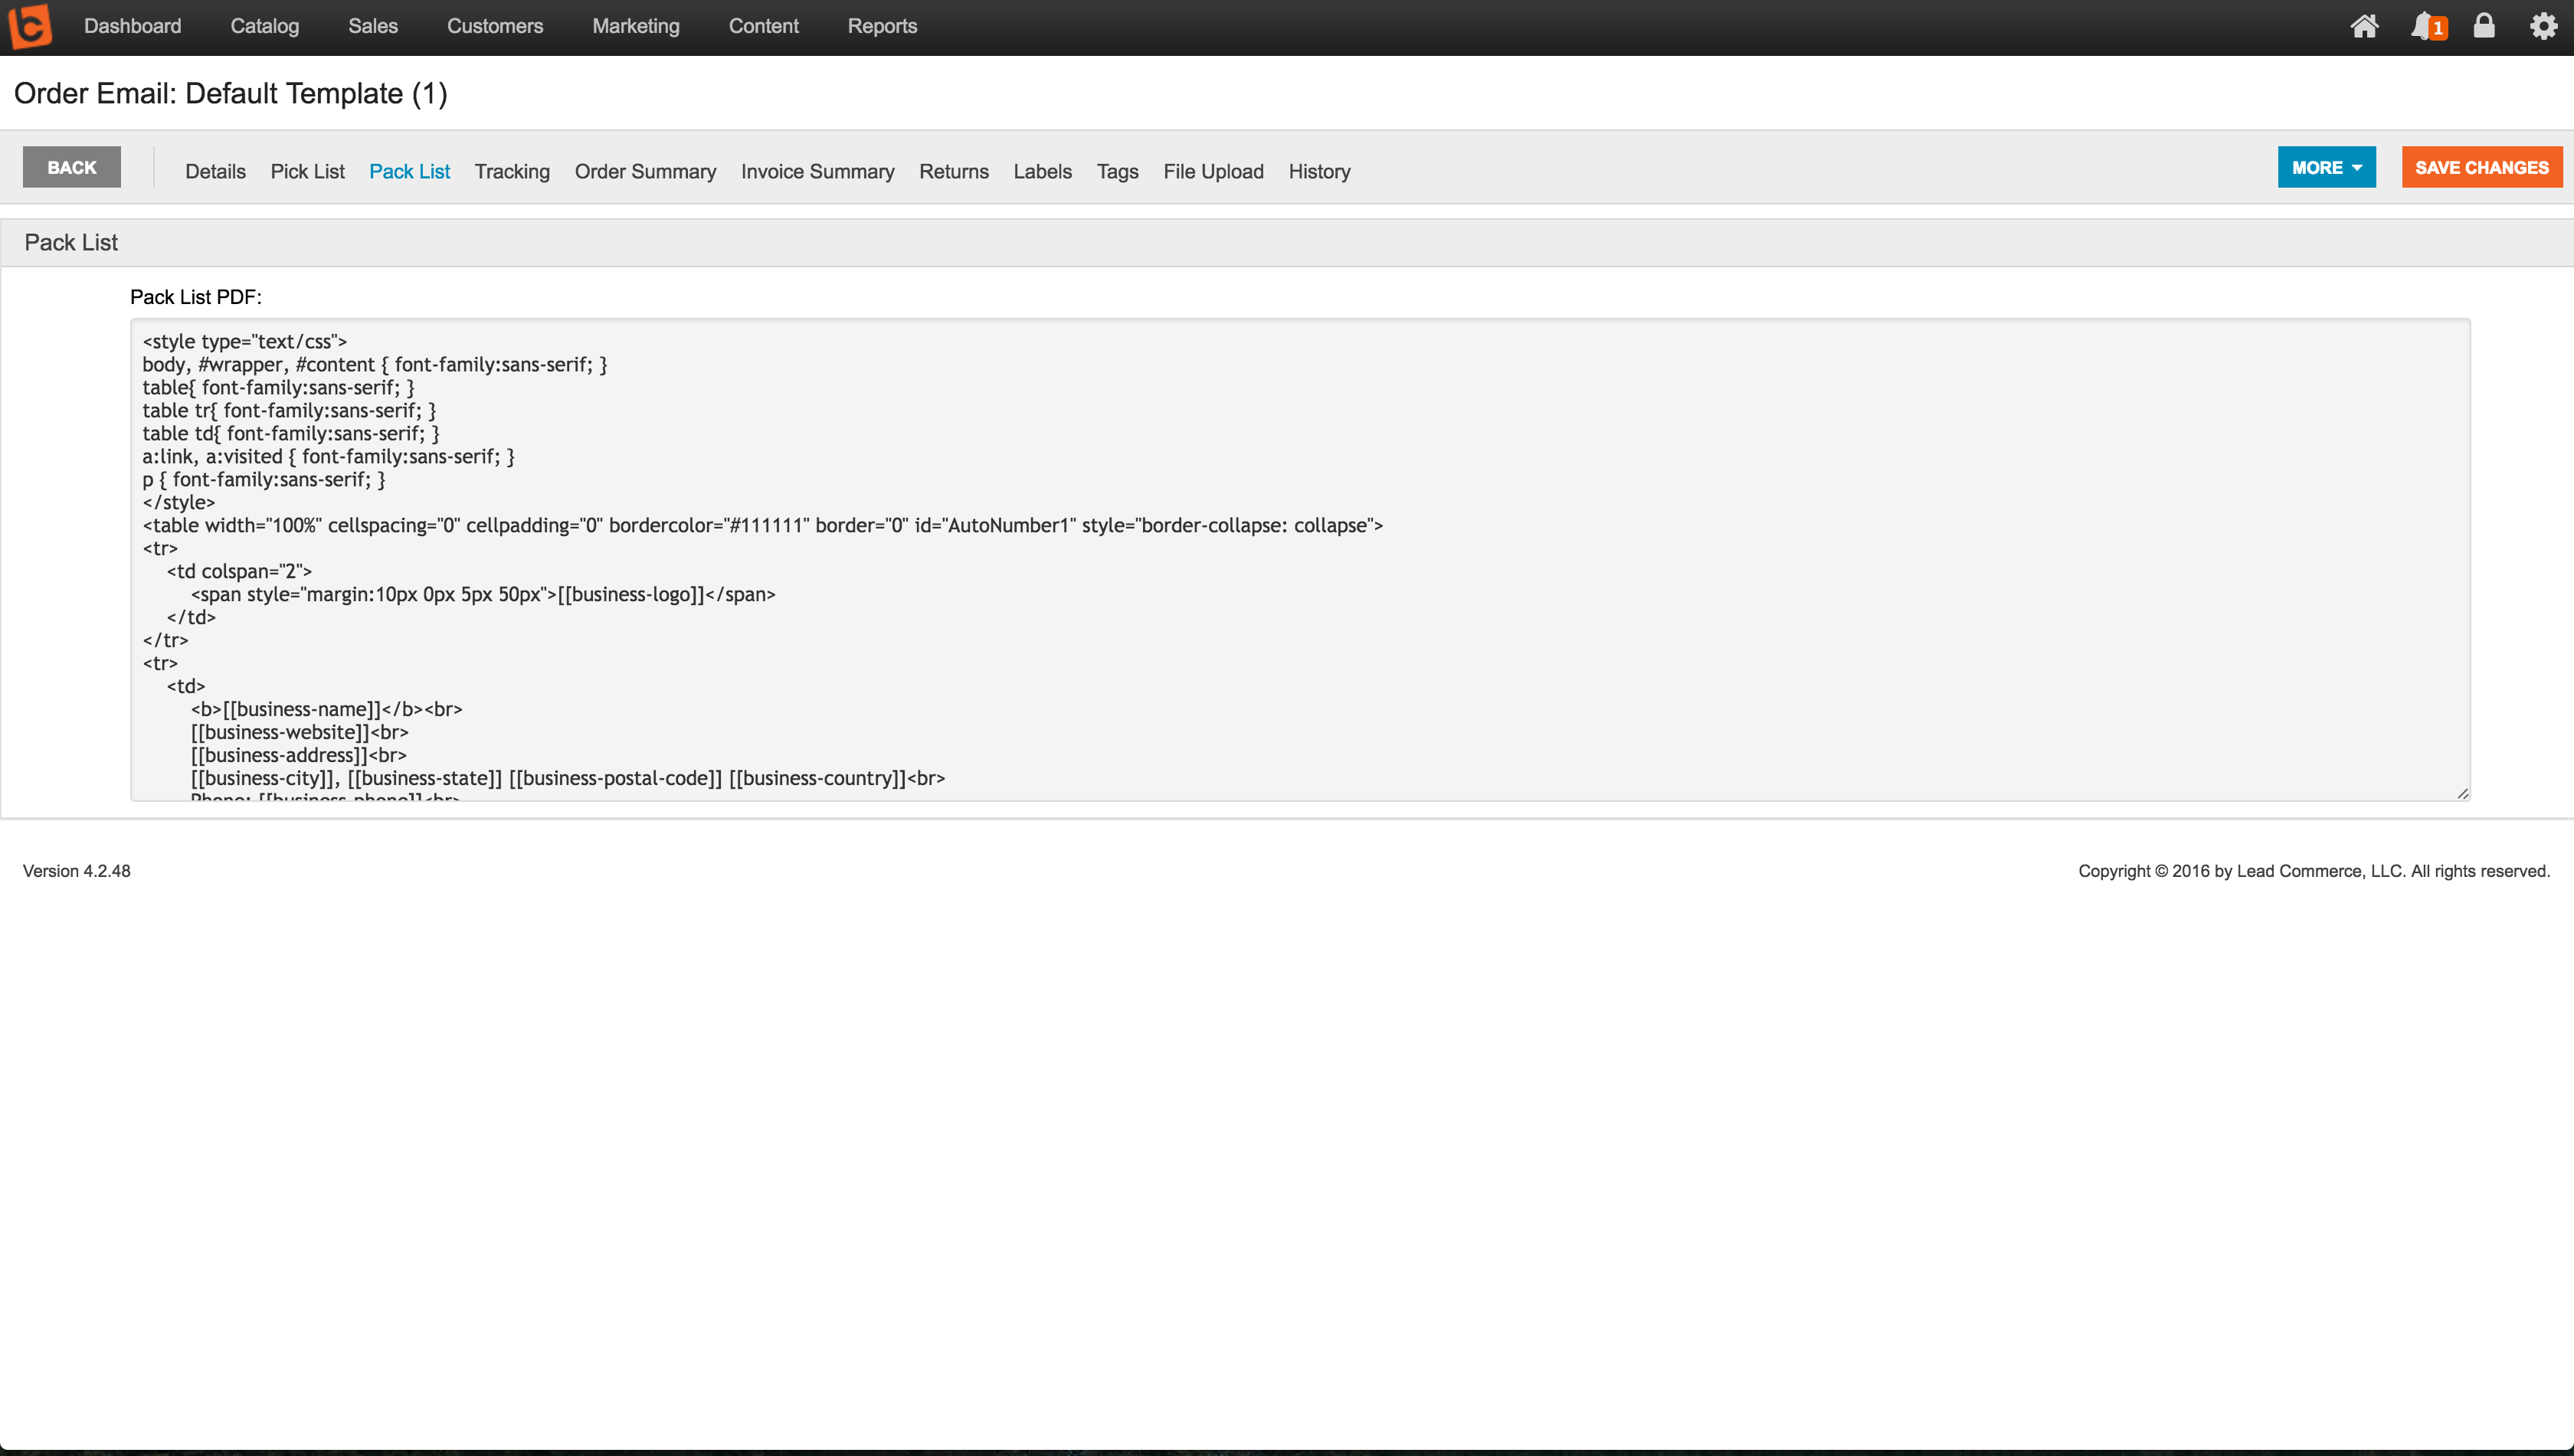
If changing the Packing Slip then click on the Pack List section.

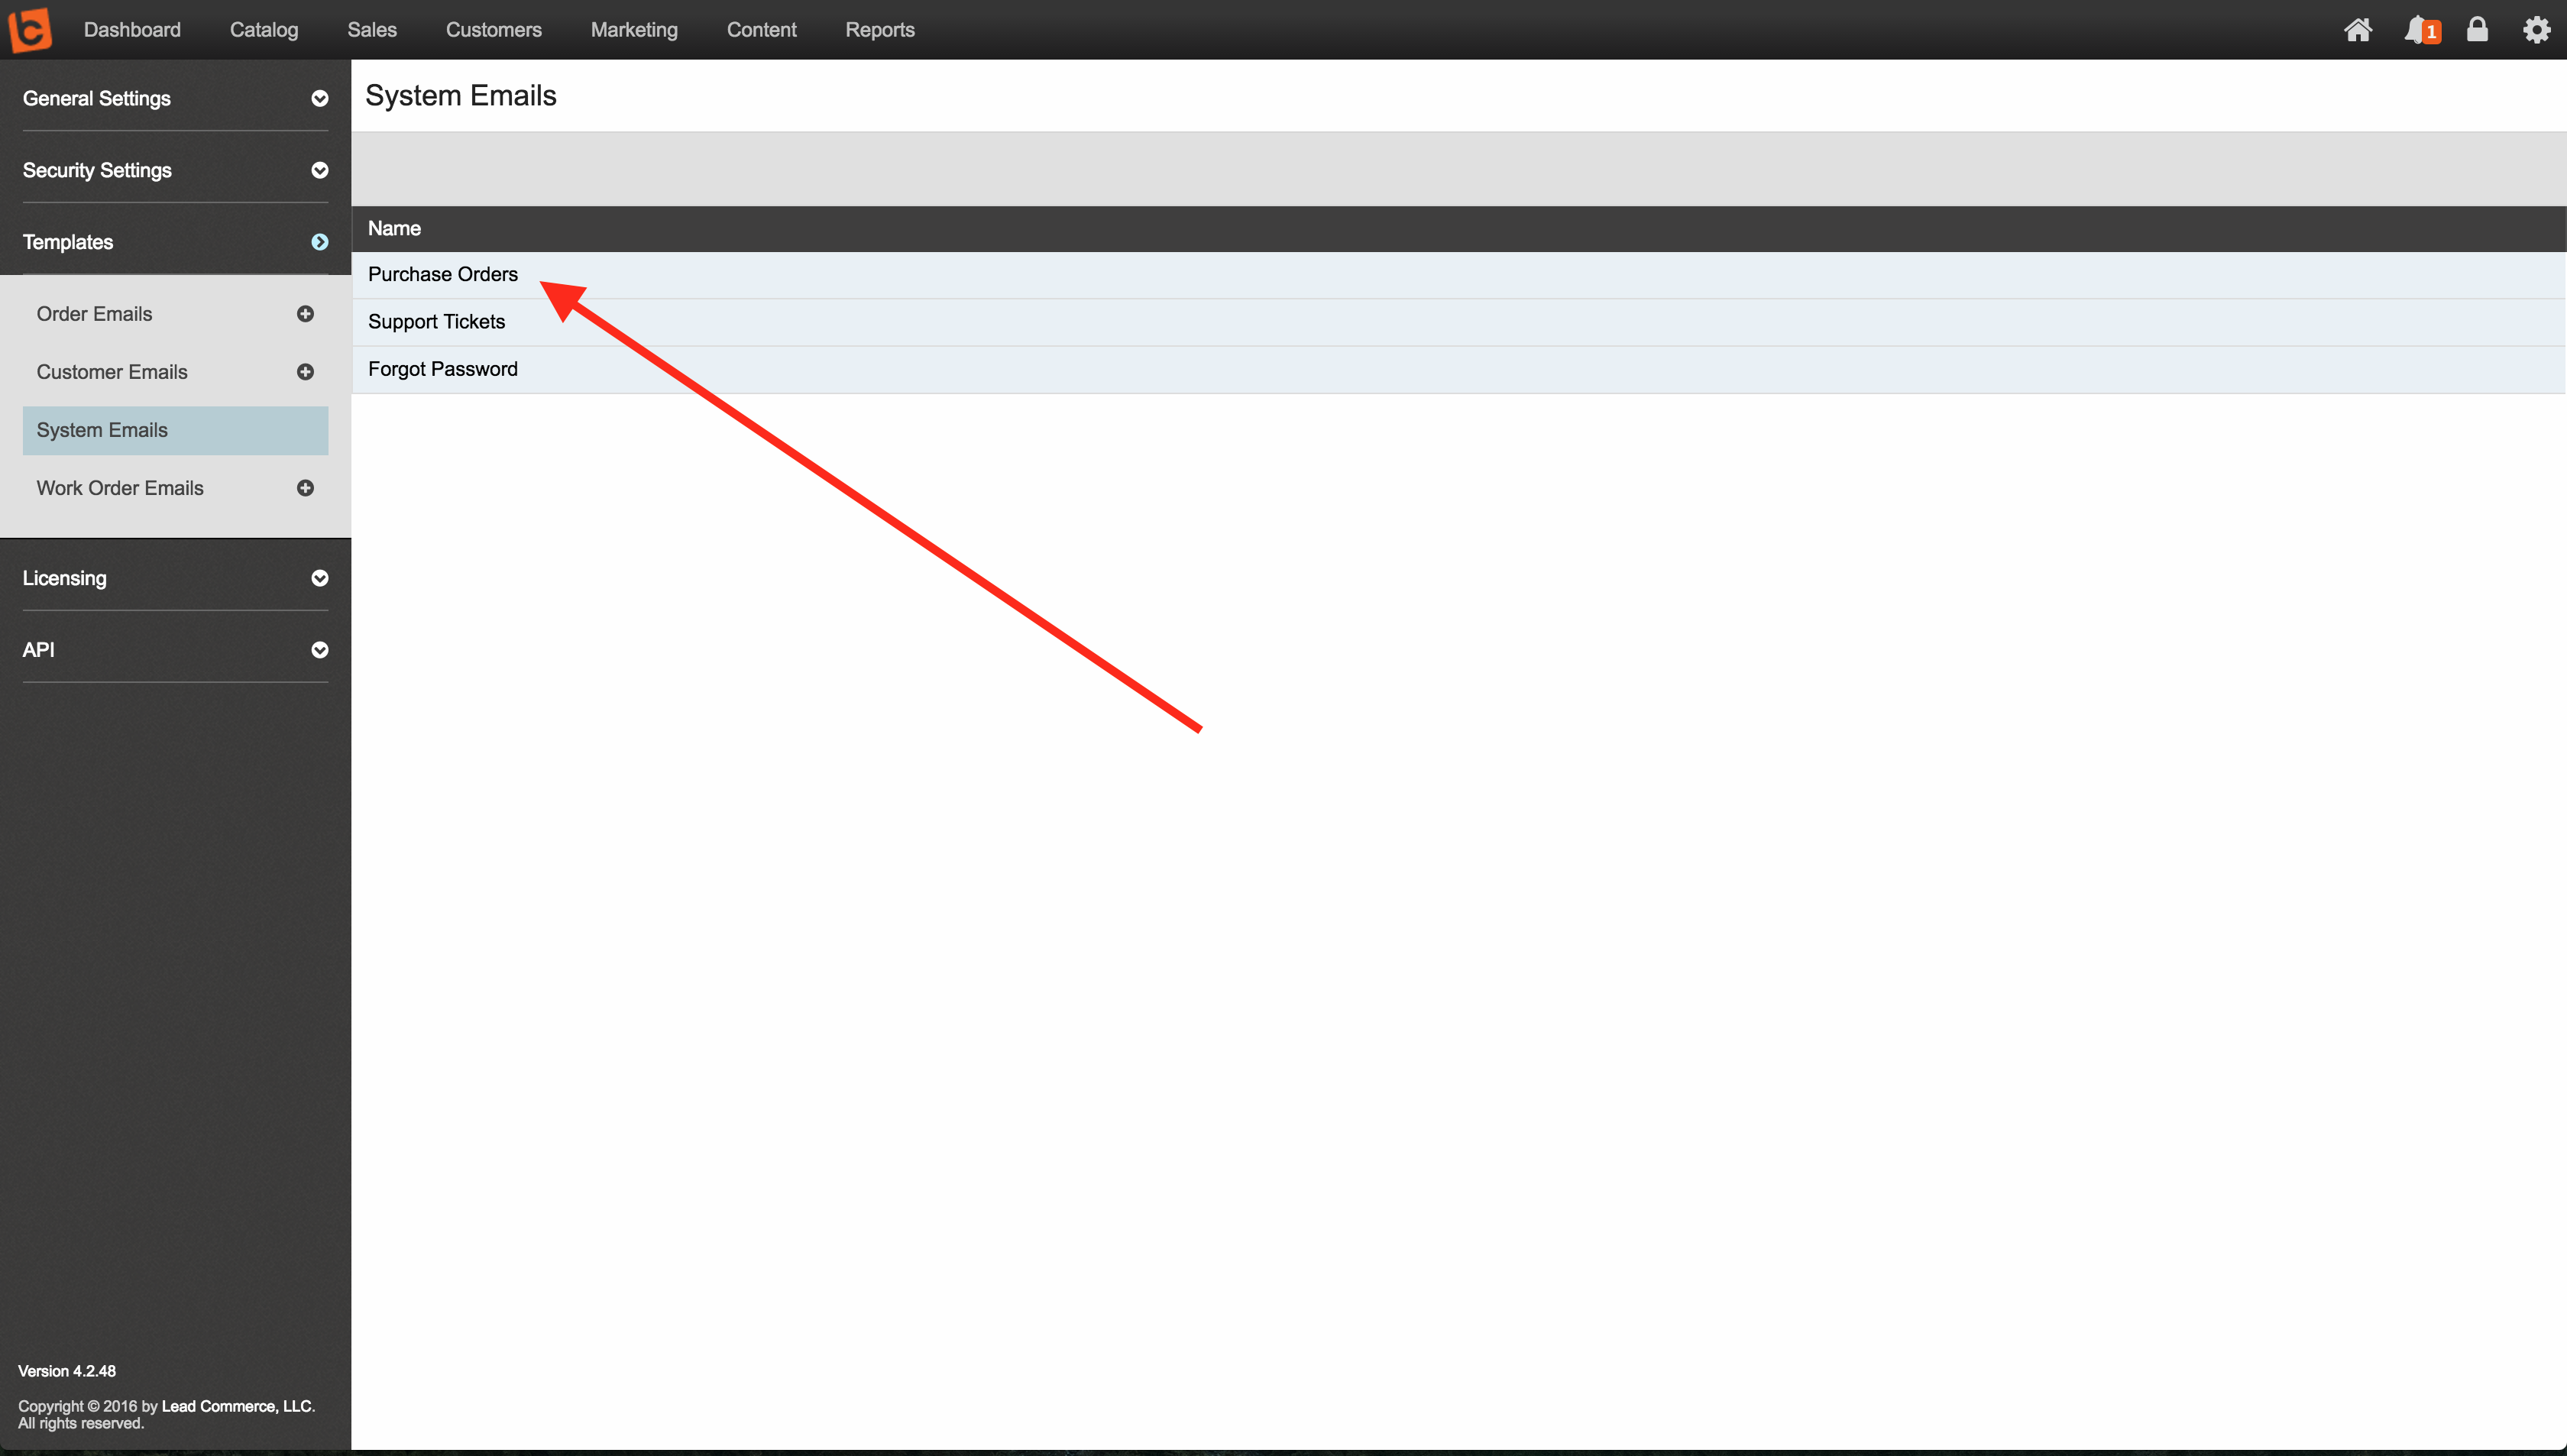
If you want to change the Purchase Order template then click on System Emails and then choose Purchase Order.

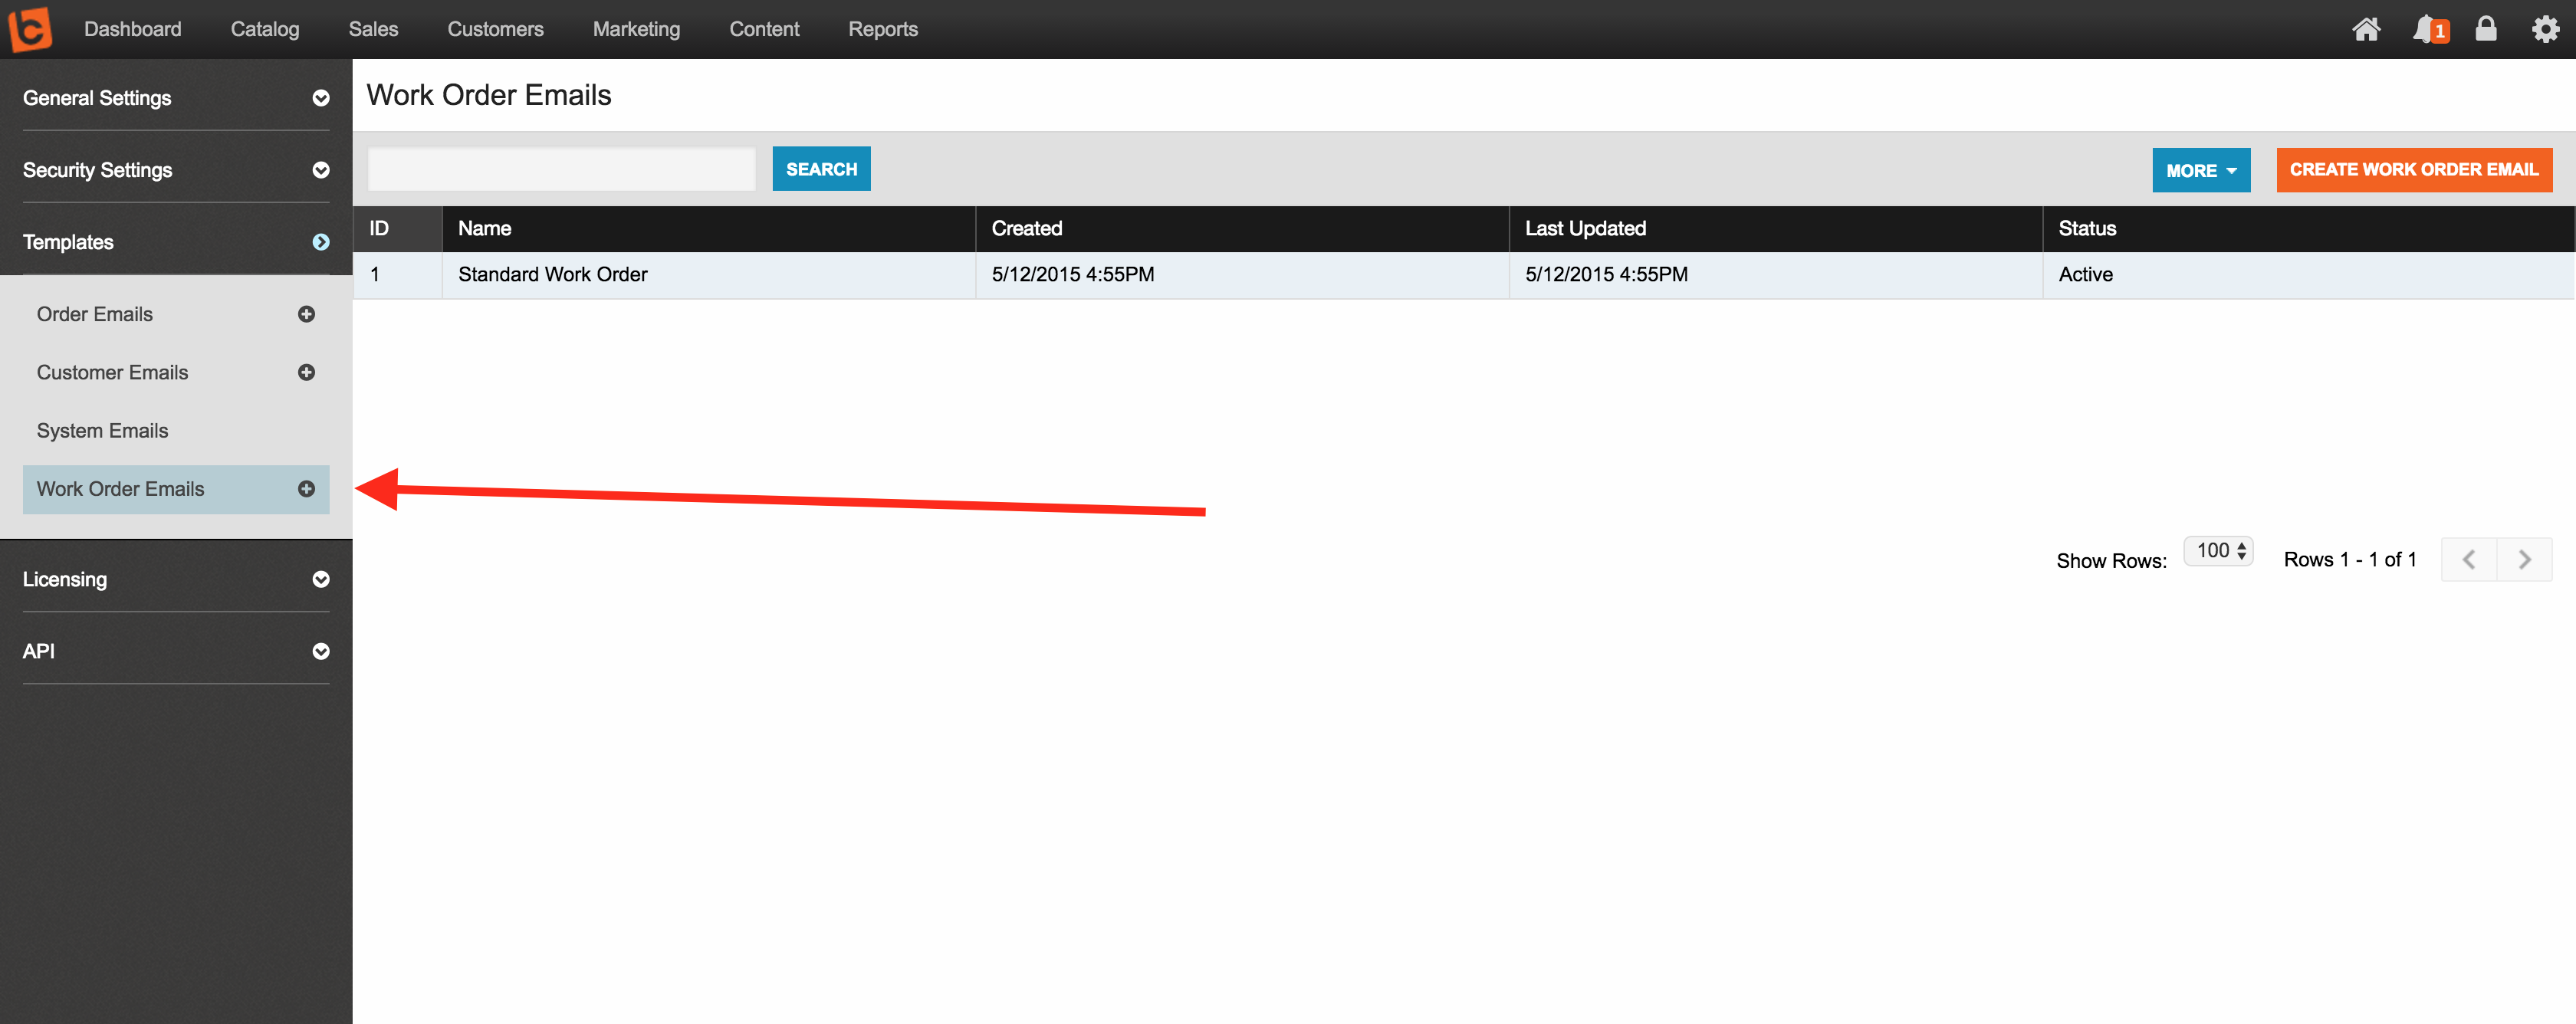
If you need to change the Work Order template, then choose Work Order Emails.

Step 4:
Depending on which template you need to adjust, there will be a corresponding barcode tag that works in conjunction with it. The list of specific barcode tags is below for your reference and which template they correspond to:
| Tag | Template | Code Example |
| [[order-id-barcode]] | Order Summary | "<p>[[order-id-barcode]]</p>" |
| [[fulfillment-id-barcode]] | Pack List (Packing Slip) | "<p>[[fulfillment-id-barcode]]</p>" |
| [[purchase-order-id-barcode]] | Purchase Order | "<p>[[purchase-order-id-barcode]]</p>" |
| [[work-order-id-barcode]] | Work Order | "<p>[[work-order-id-barcode]]</p>" |
If you need further assistance with the barcode and formatting your templates, we suggest you reach out to any of our certified Lead Commerce partners for more assistance.
Step 5:
Once you have added the code to the template inside the template's HTML, you can then view any of these documents by going to the appropriate area of Lead Commerce and choosing the print or email options.

 Made with ❤ in the USA.
