This support article discusses how to receive Purchase Orders (POs) in Lead Commerce using the barcode scanning option.
Step 1:
Ensure that your Purchase Order template us using the barcode tag to display your Purchase Order ID as a barcode. For more information on how to adjust templates to display barcodes, review this support article.
Step 2:
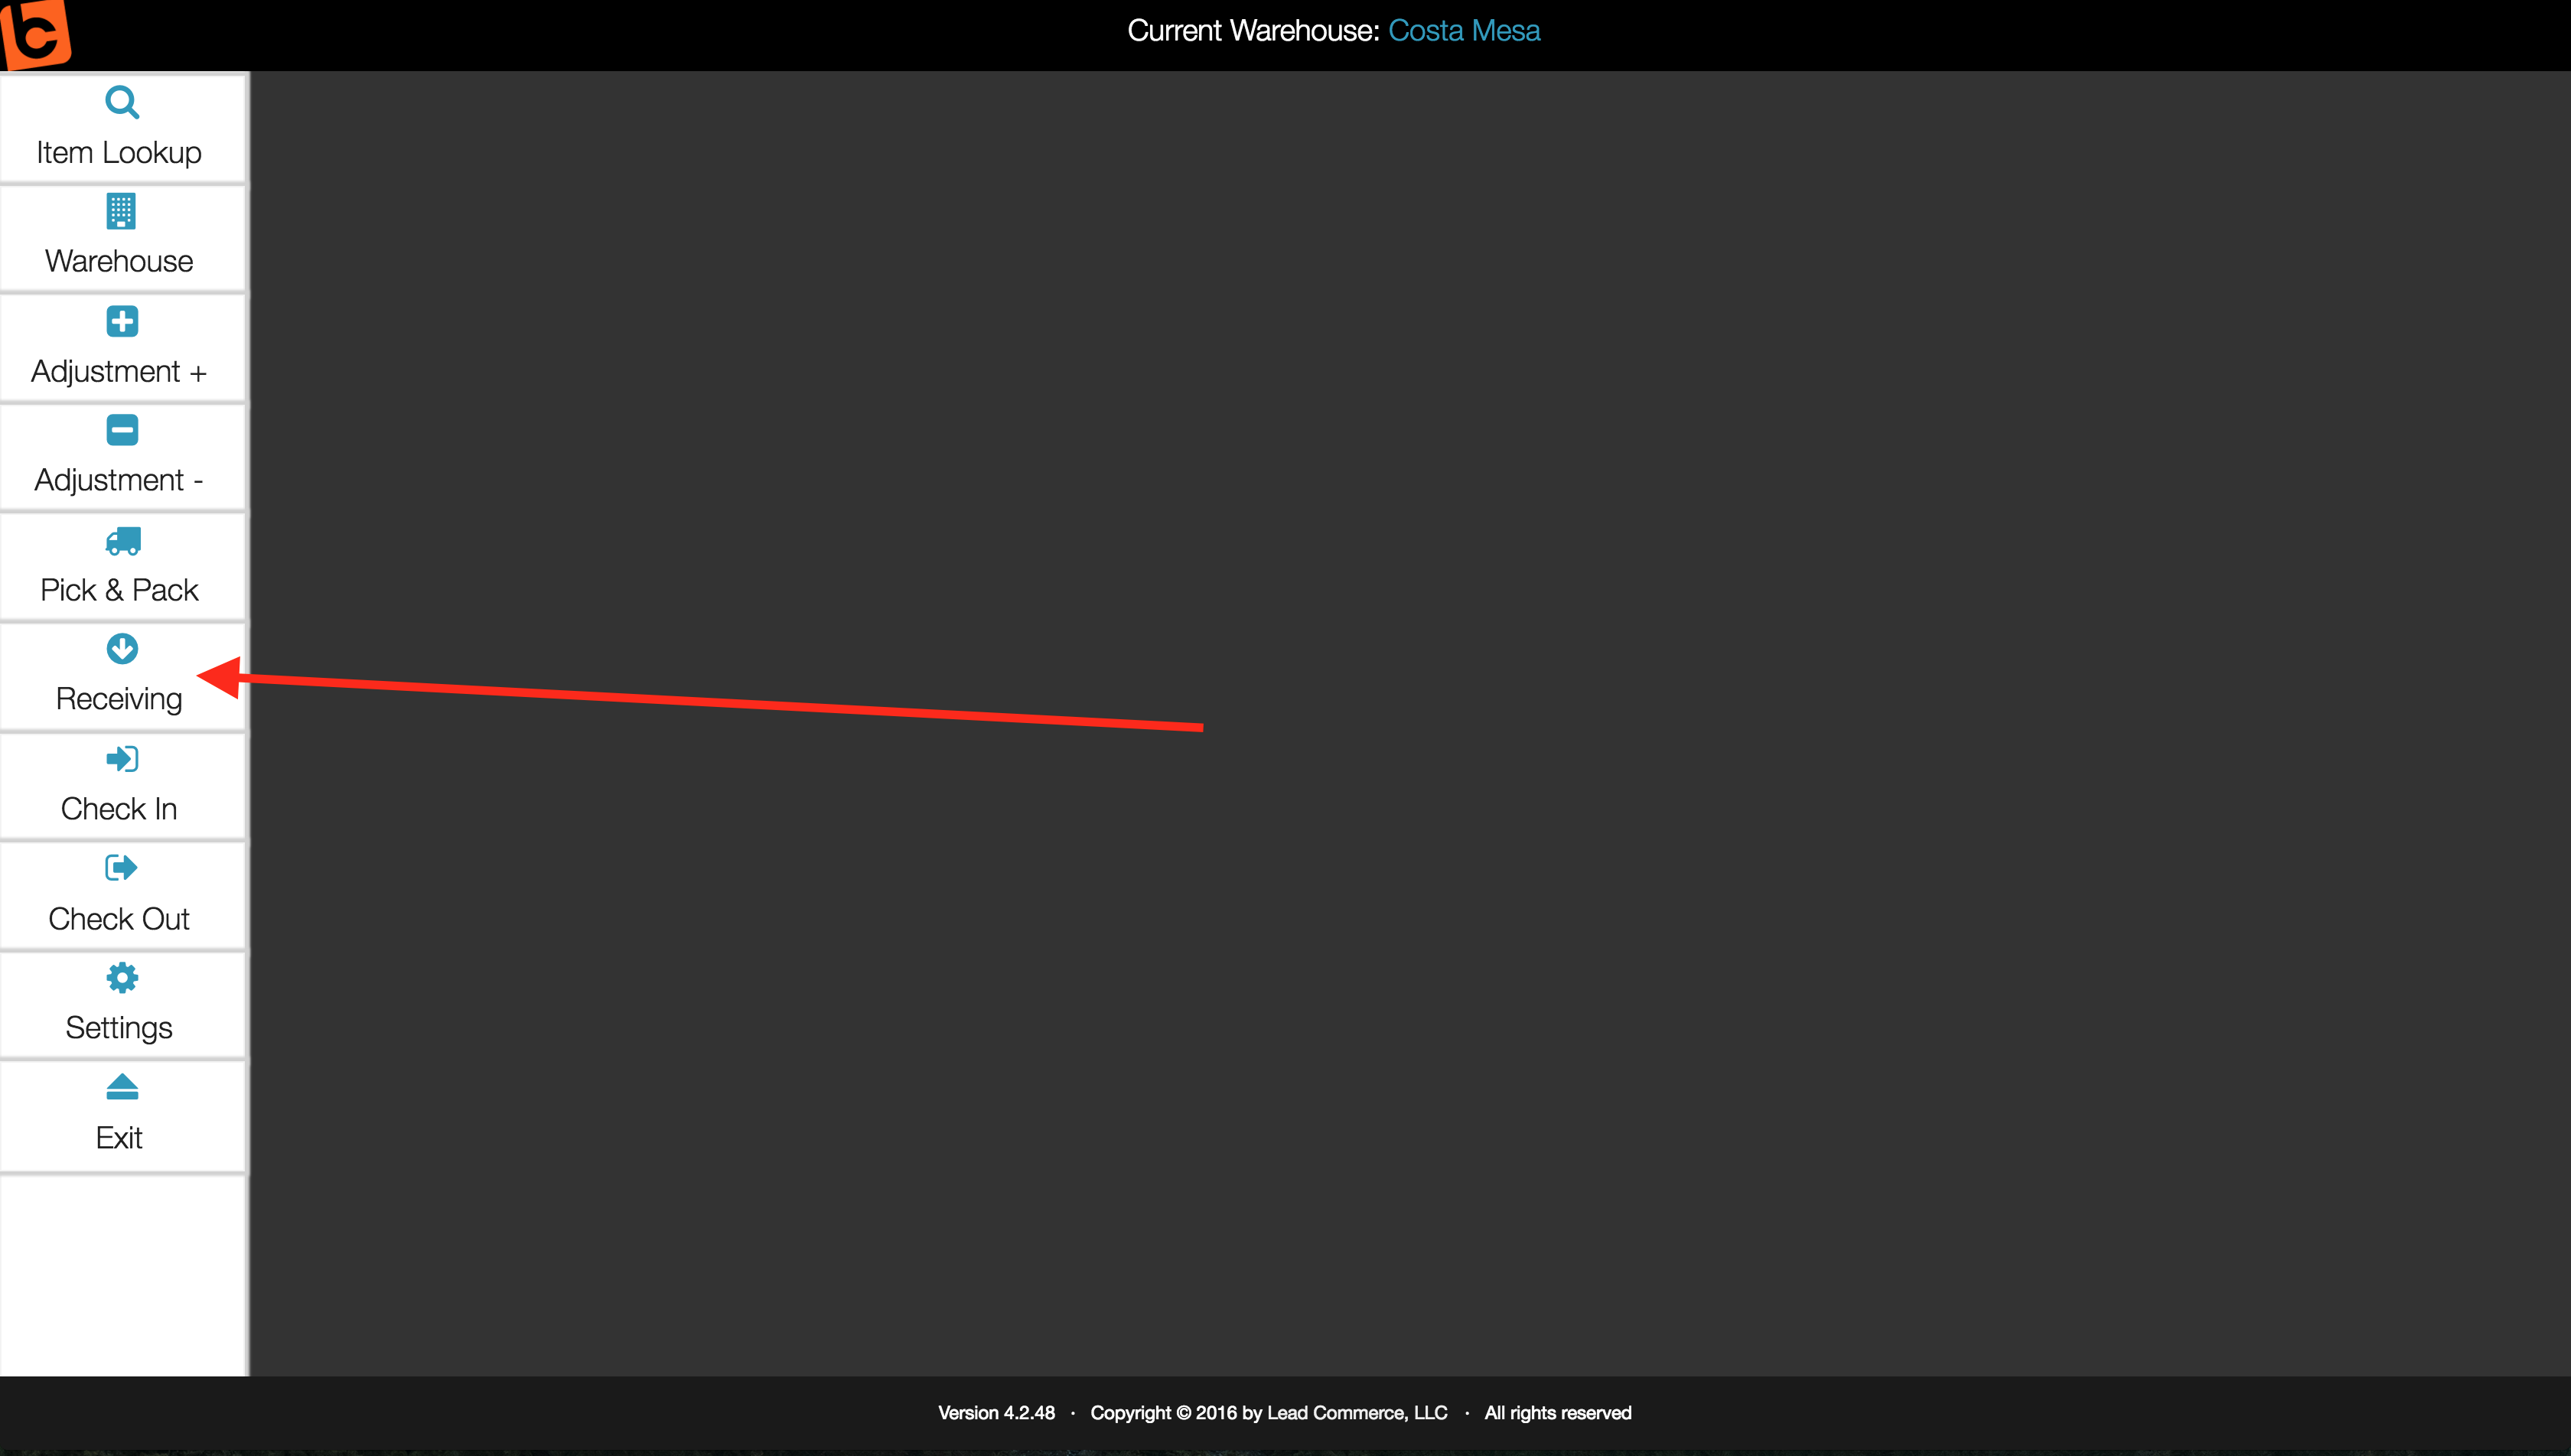
Click on the Receiving option in the Barcode Scanner feature.
Step 3:
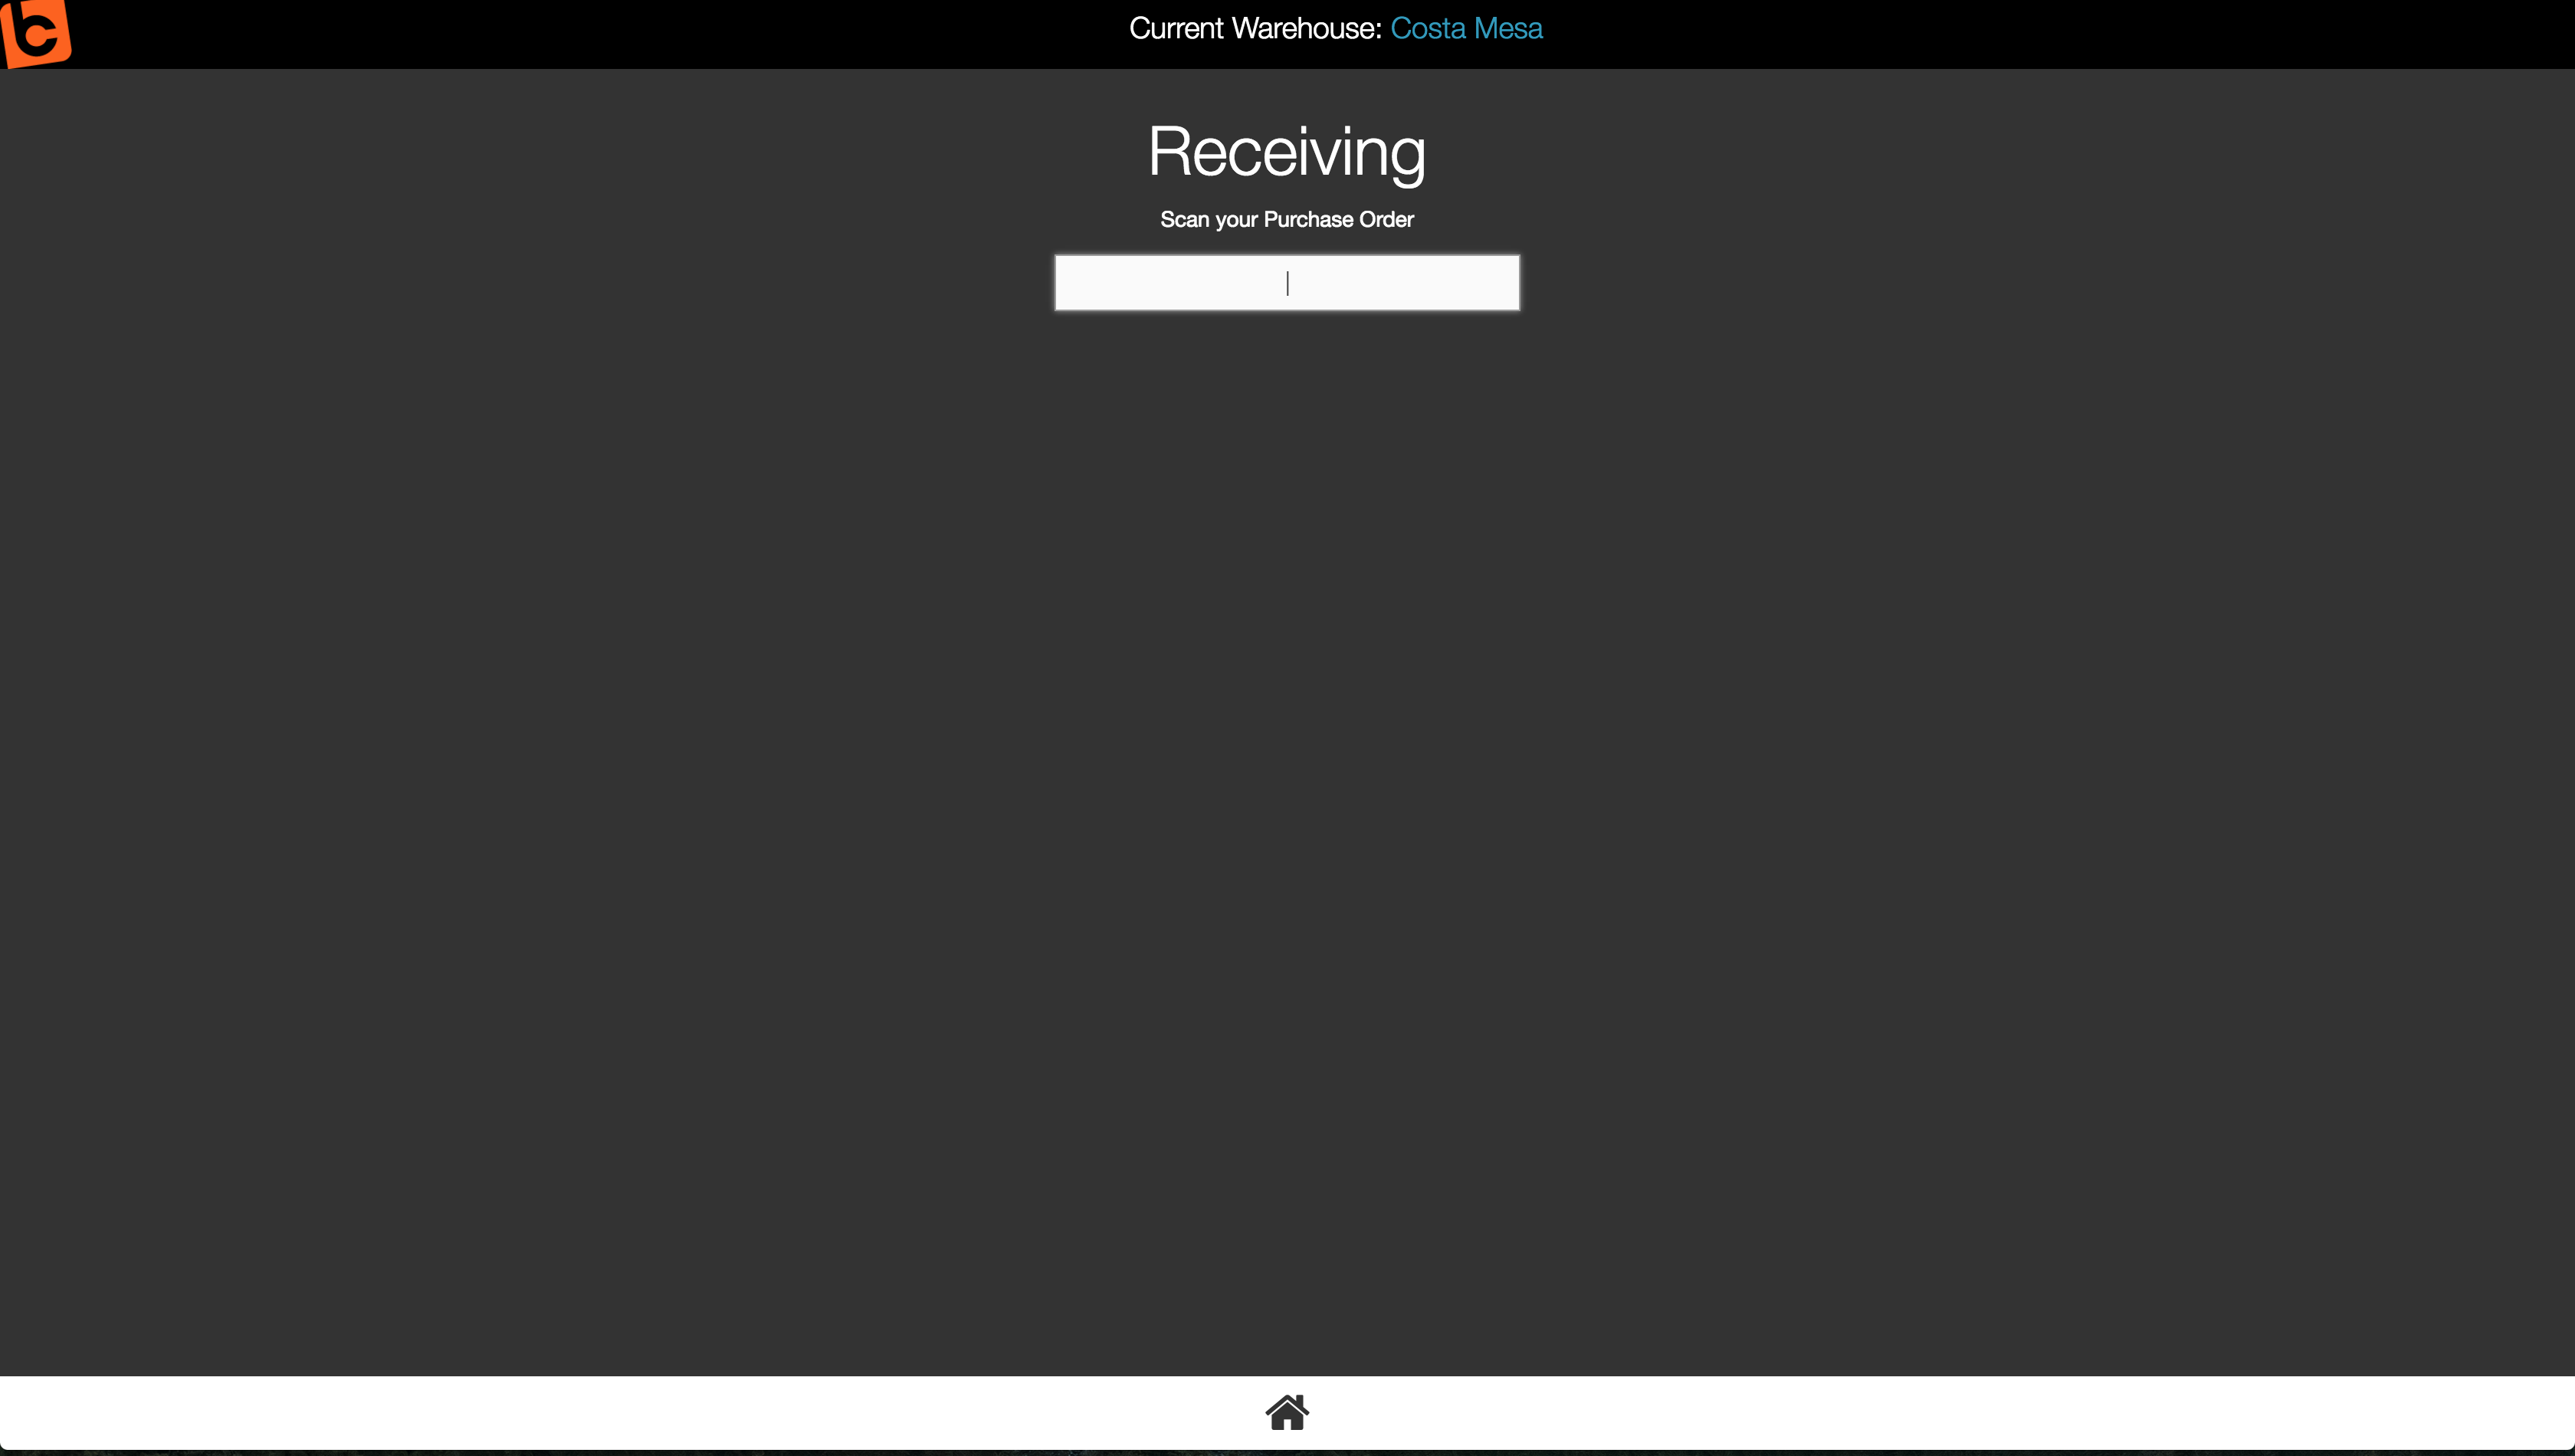
Scan the barcode on your Purchase Order.
Step 4:
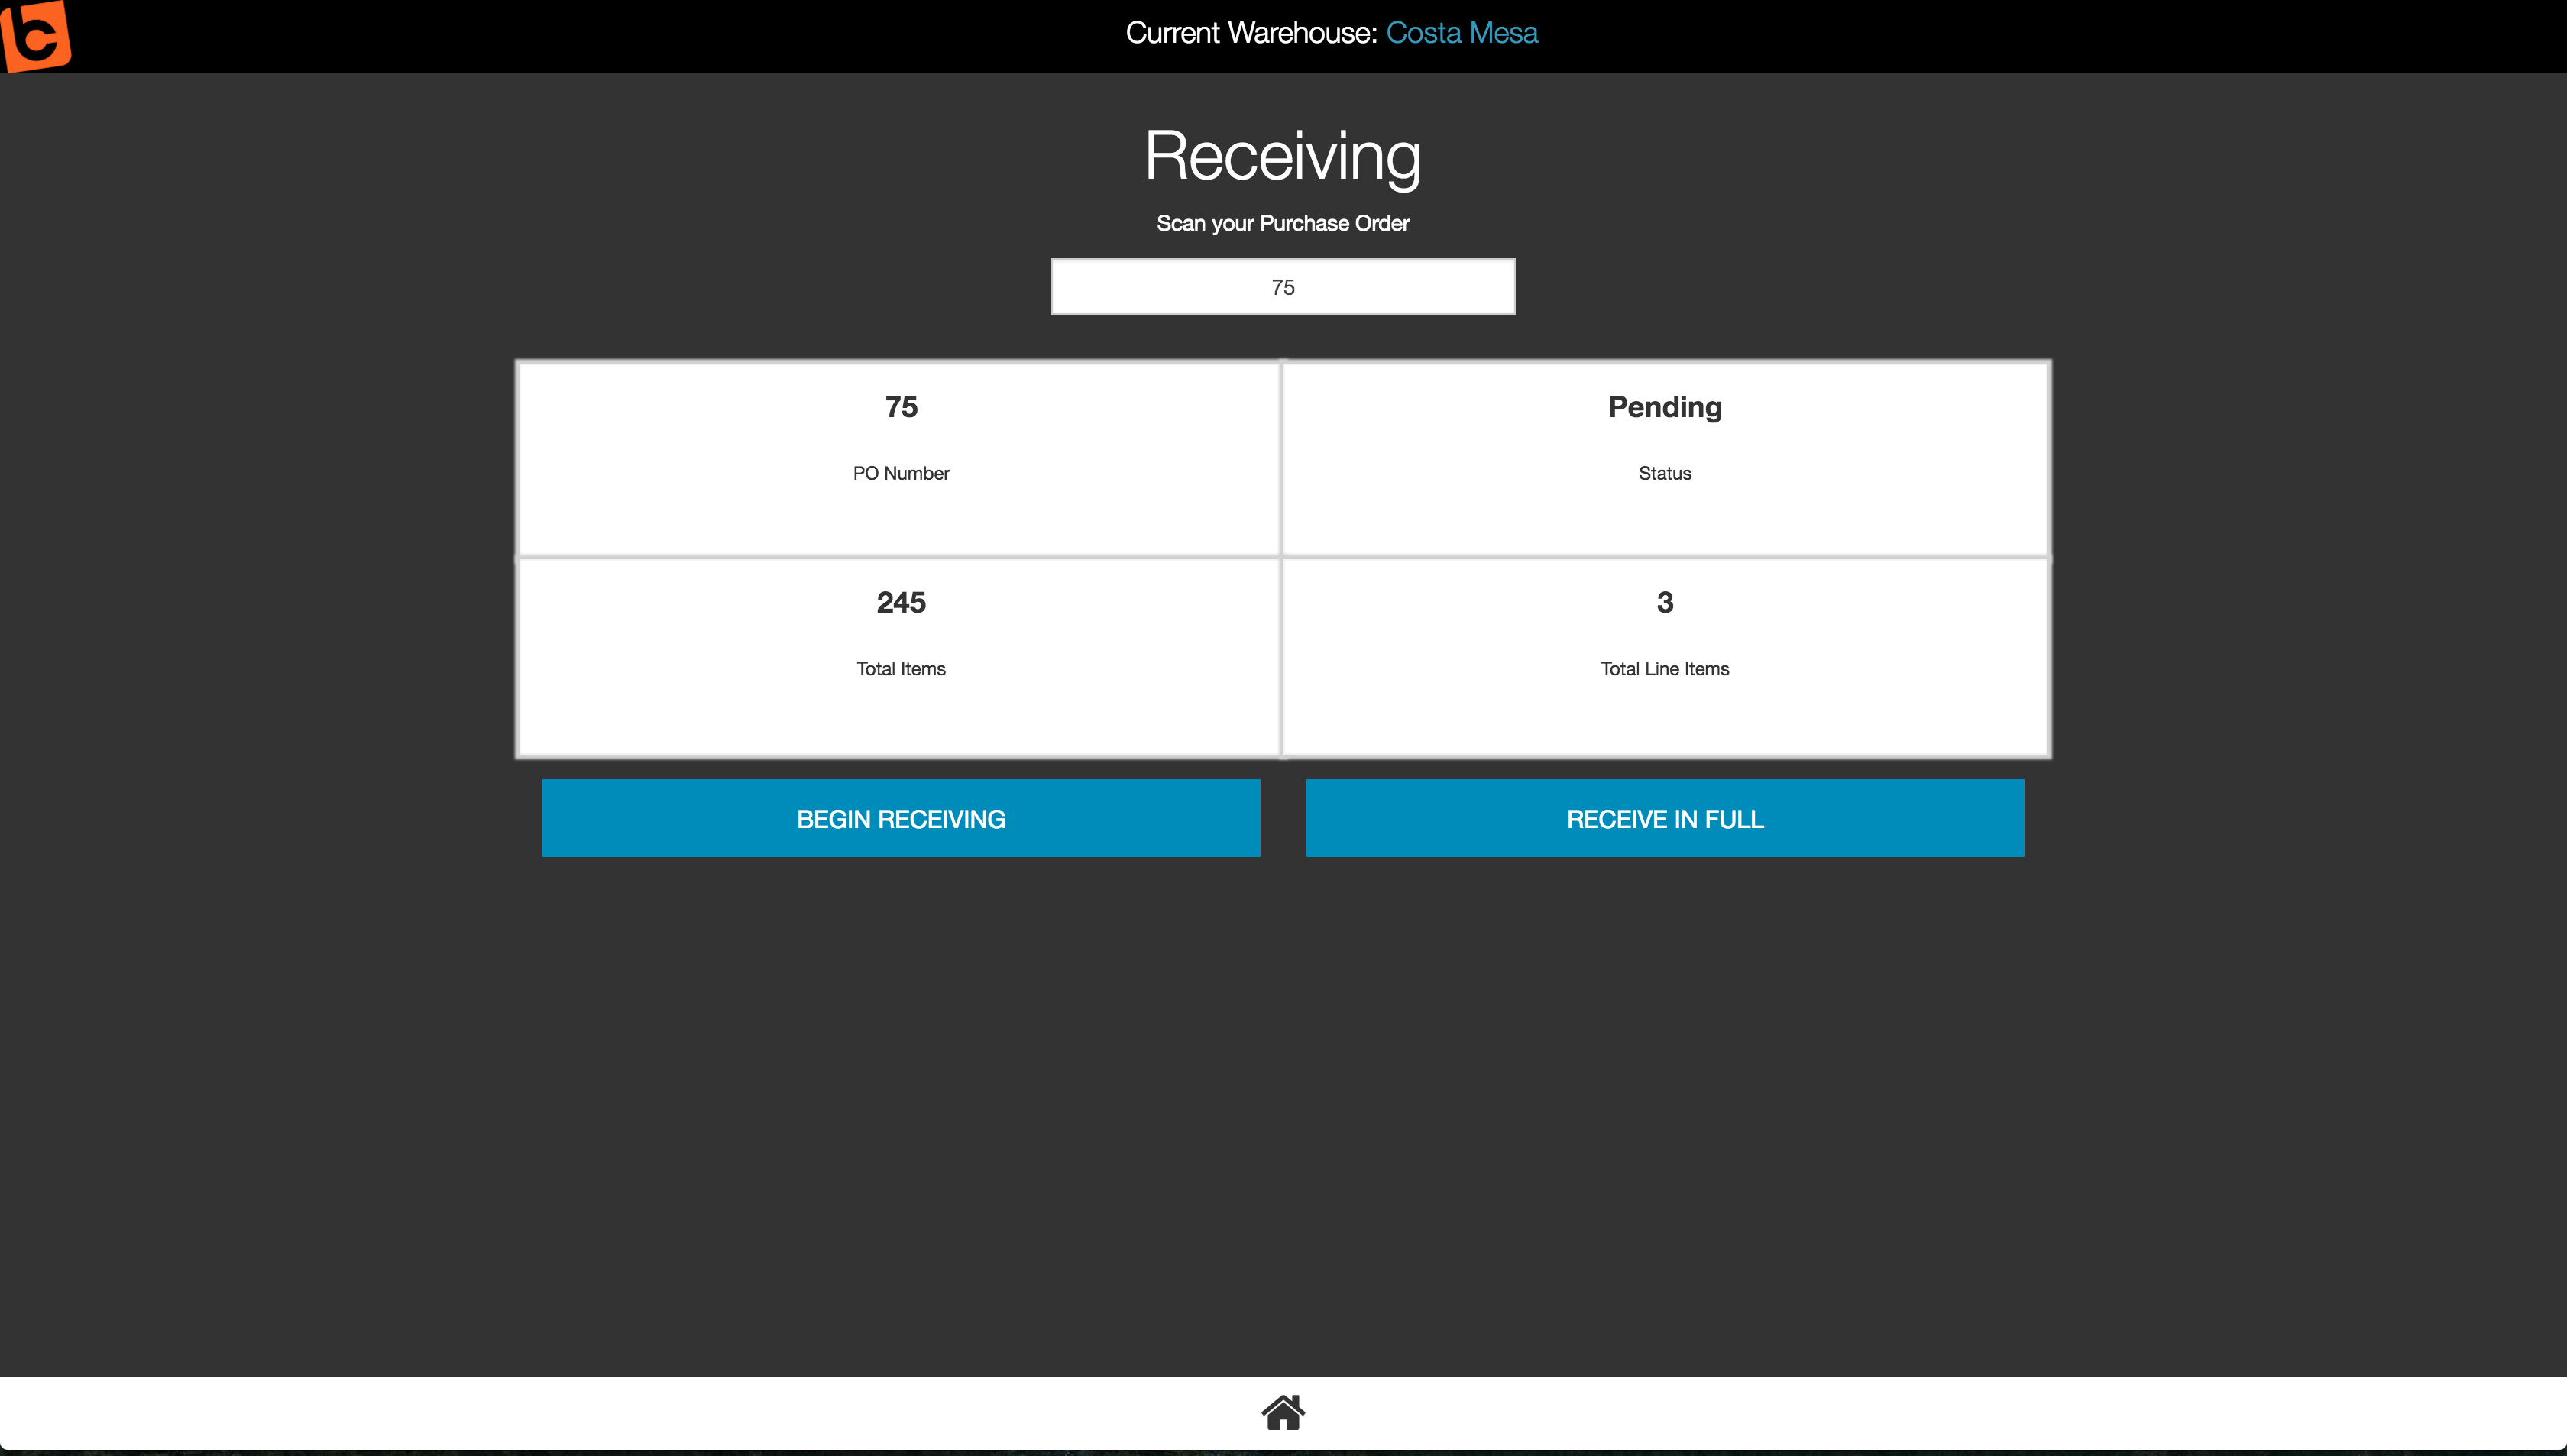
Once the Purchase Order has been scanned, you should see the details of the PO itself. You can then either select the "Receive in Full" option which will receive all quantities and all line items on the Purchase Order. If you use the "Begin Receiving" option, this will allow you to scan individual line items and receive full or partial quantities.
Step 5:
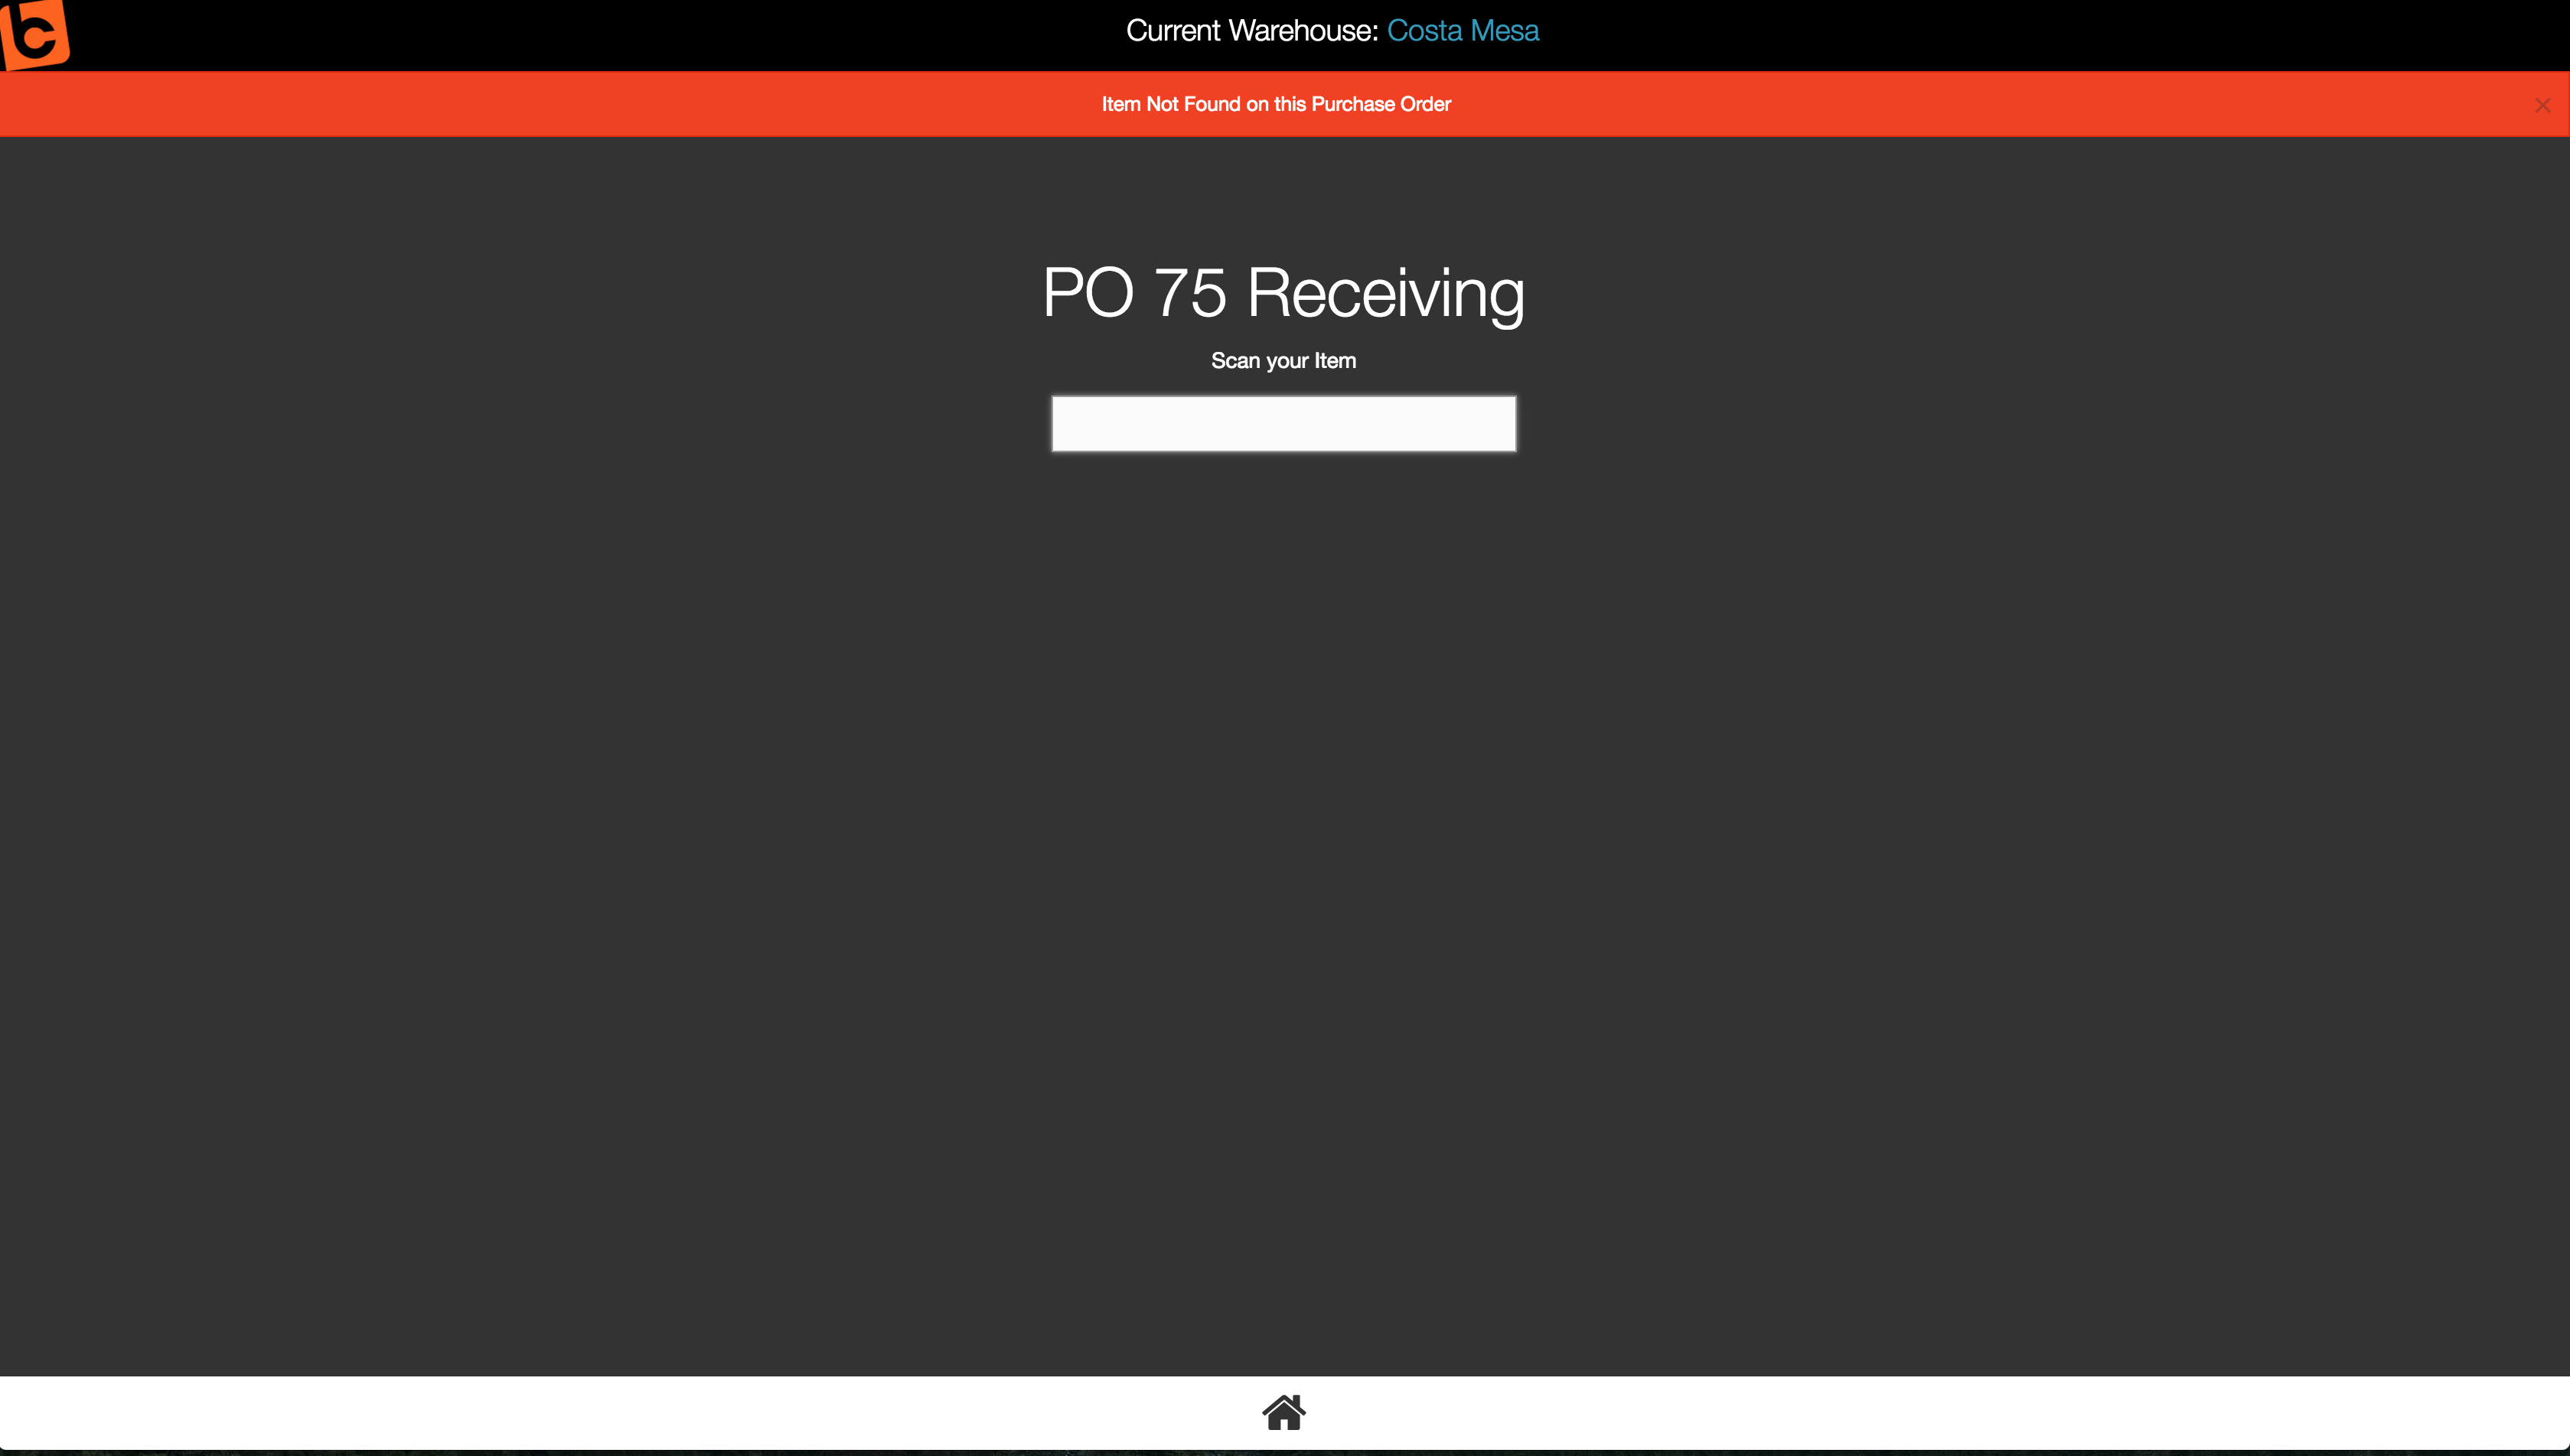
If the "Begin Receiving" option is selected, then you can now begin scanning the SKUs that are on the Purchase Order. PLEASE NOTE: You need to ensure that the barcode you are scanning on the item is in the Lead Commerce database as your SKU ID. If not the software will not be able to recognize what item is being scanned.
This has two benefits. The first is this will guard against receiving the wrong items into inventory. The second, is that it ensures the items being scanned are in the Lead Commerce database.
Step 6:
If a scan is successful, then you will see the SKU that has been scanned and the quantity remaining that is yet to be received.
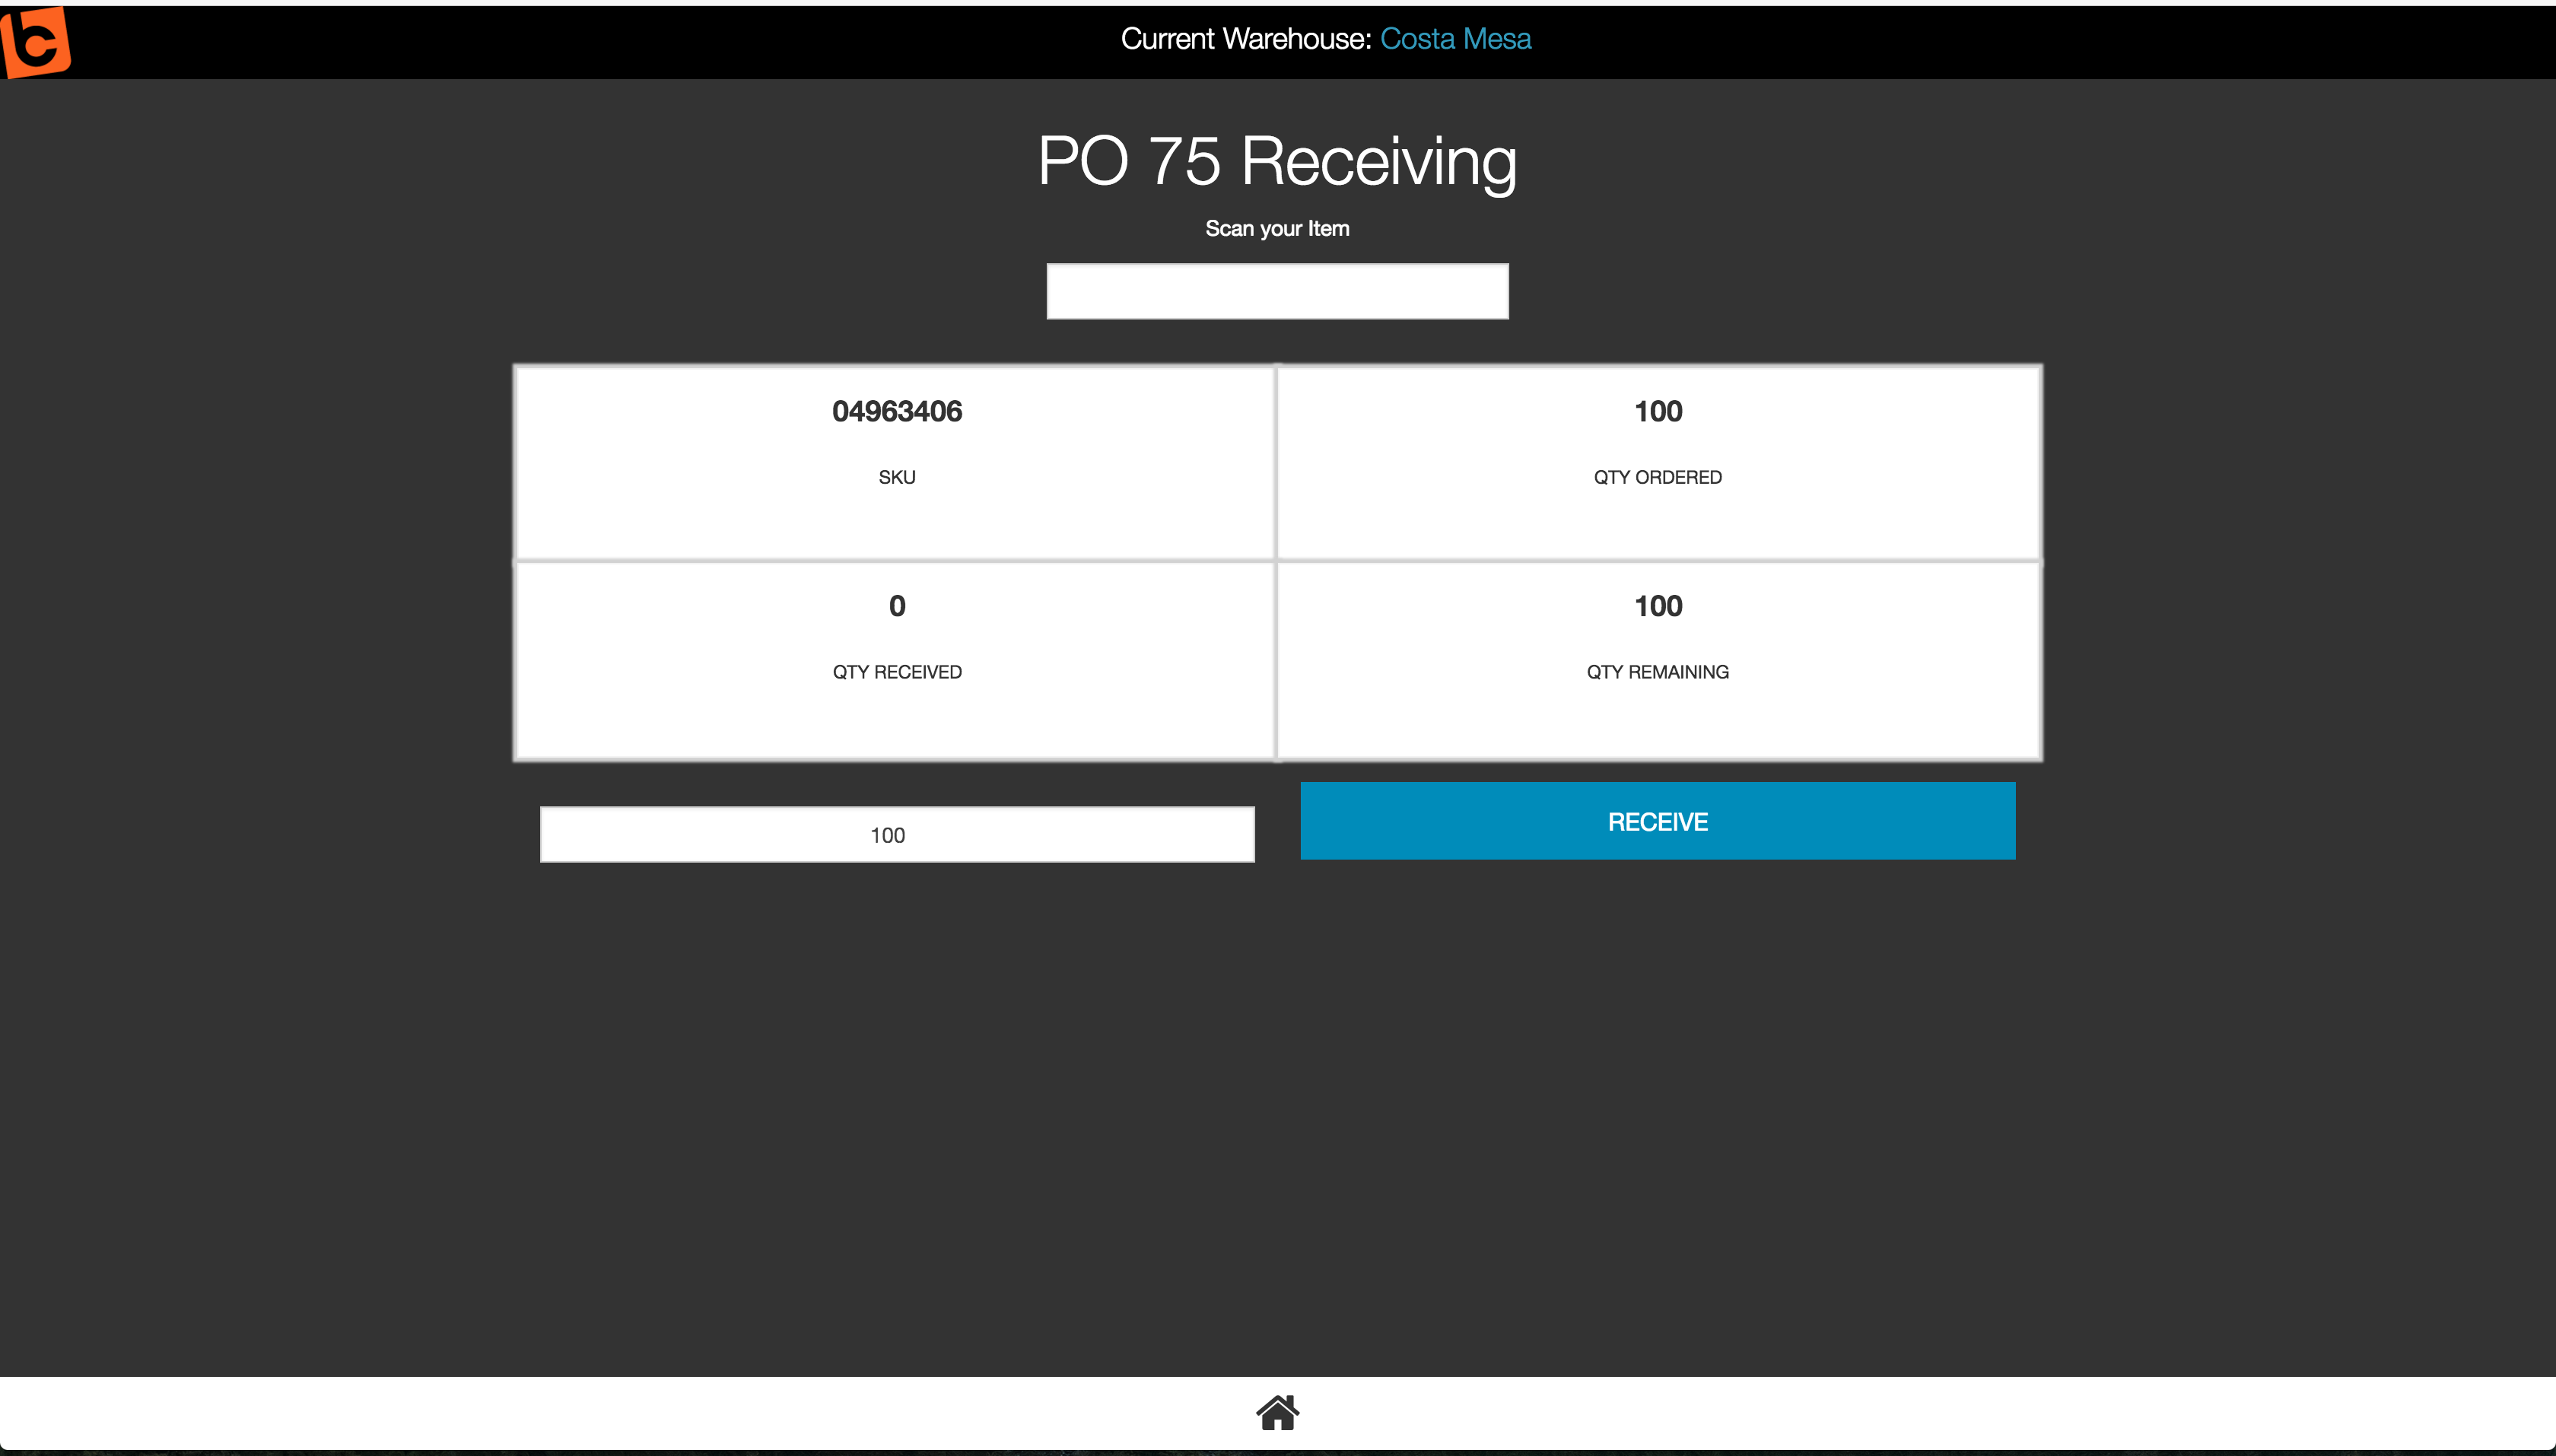
Once you have the item details pulled up on the screen, simply click the "Receive" button to receive the quantity in the small text area located on the left. By default the system will automatically pull in the Remaining Quantity value to eliminate having to type this value in.
Continue the process until you have completed the line items that need to be received.

 Made with ❤ in the USA.
