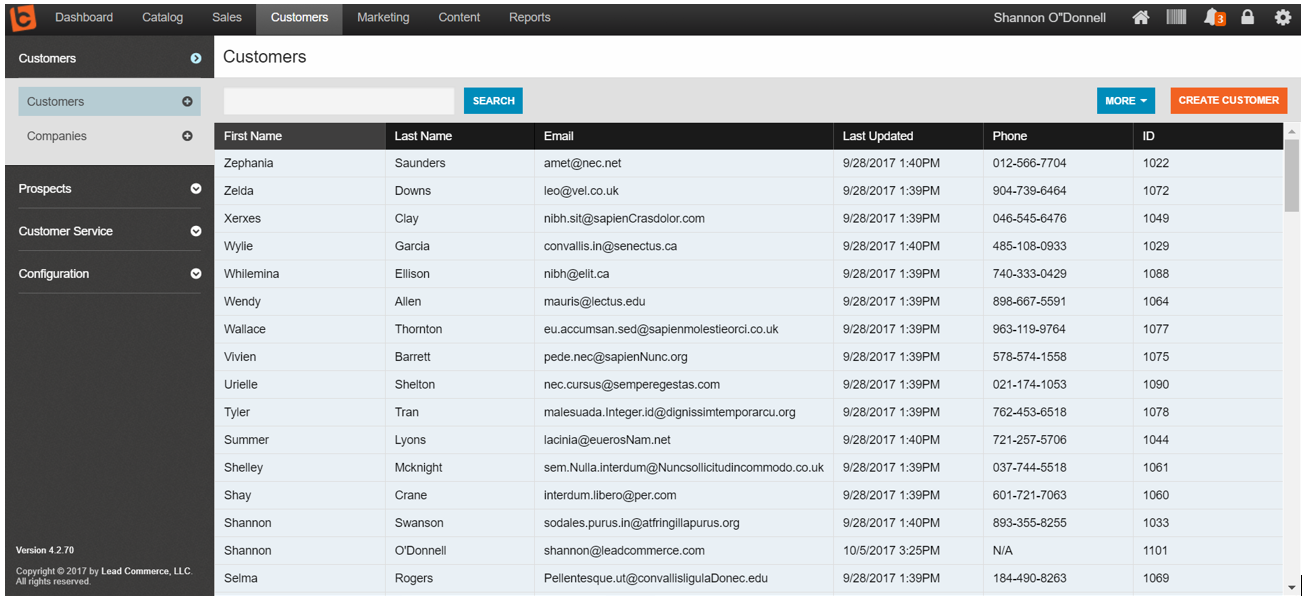
This support article will discuss how to use the Auto Invoicing feature within Lead Commerce.
First, it is important to note that the auto-invoice feature of LC is configured on the Customer level, and must be mapped on the Customer Type as well as when the customer is set up in the system.
Step One:
Navigate to Customers>Configuration>Customer Types
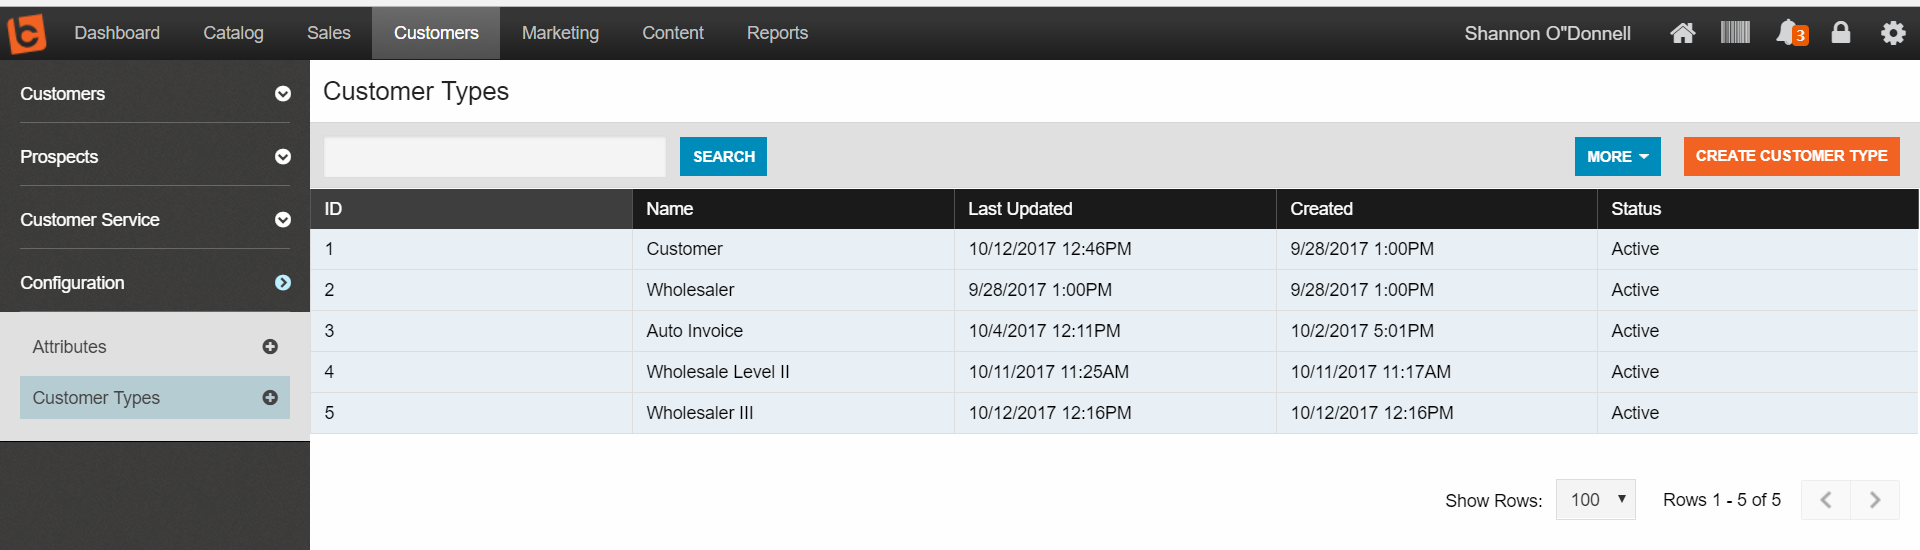
When you select Create Customer Type you now have the option to enable Lead Commerce's Auto Invoicing feature.
Step Two:
Select Create Customer Type. In the details tab, create a name that will be easy to identify as the customer type for which you want automatic invoices issued to, such as "Auto Invoice".
Under the Rules tab, you can select whether or not you want to disable, create an invoice, or create and email an invoice automatically when a fulfillment is issued on an order for the selected customer type.
Select Save Changes. Now, whenever an order is created with the customer type we just created, an e-mail will be sent containing a copy of the invoice.

NOTE: Invoices will only be issued to customers once an order has been shipped and fulfilled.
Step Three:
Now, when creating a new customer for which you would like an invoice automatically created, you will select this option in Customer Type.
Navigate to Customer> Create New Customer

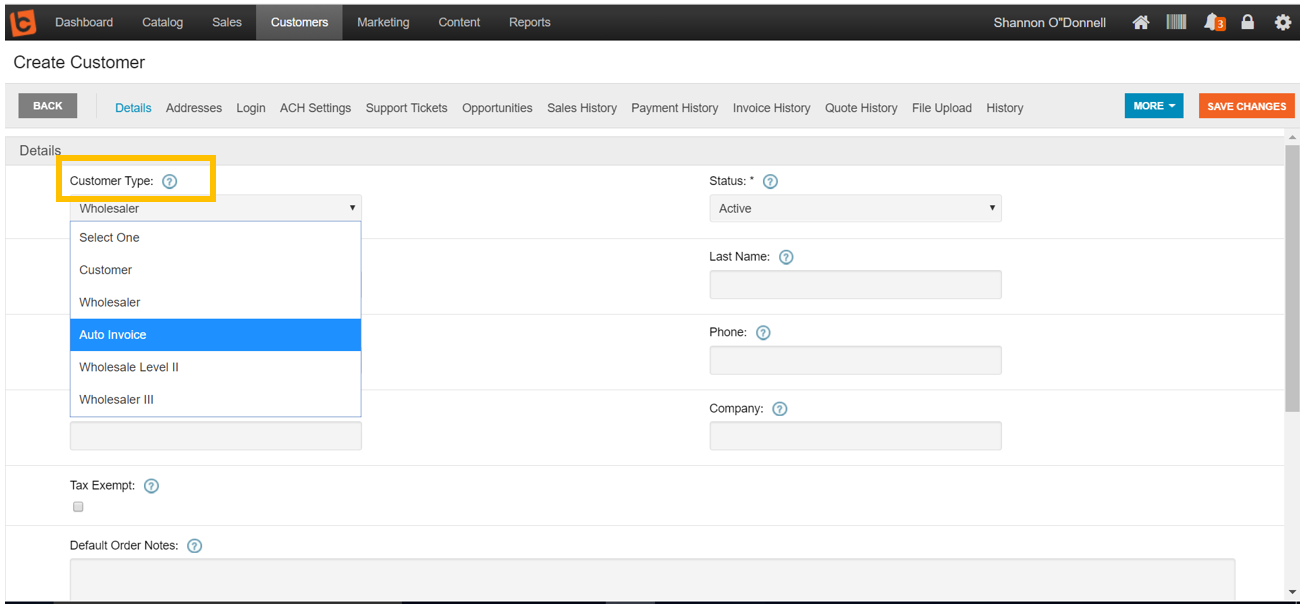
Under the Details tab, select Auto Invoice (or whatever you named your new customer type) as the Customer Type. Fill in the required fields and select Save Changes.
To test this feature before deploying, you can set up yourself as a customer type and configure a customer profile, and issue a test order. The email that you should receive upon the FULFILLMENT of the order should look like this:
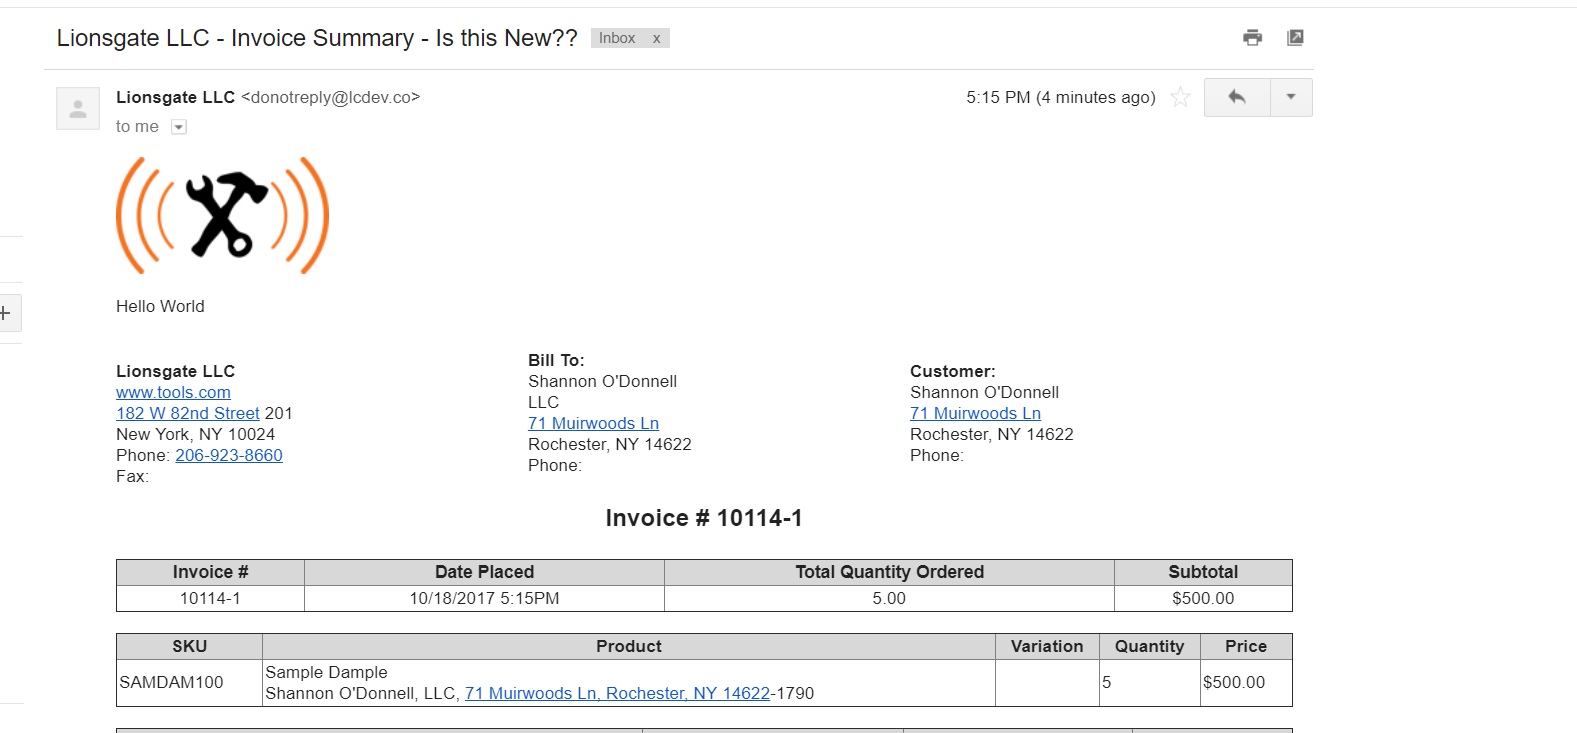
If everything looks good, you are all set with LC auto invoicing!

 Made with ❤ in the USA.
